
How to Make a YarnSketch Pillow
Debi Martin • December 7, 2018
Creating a pillow insert and closing up your YarnSketch
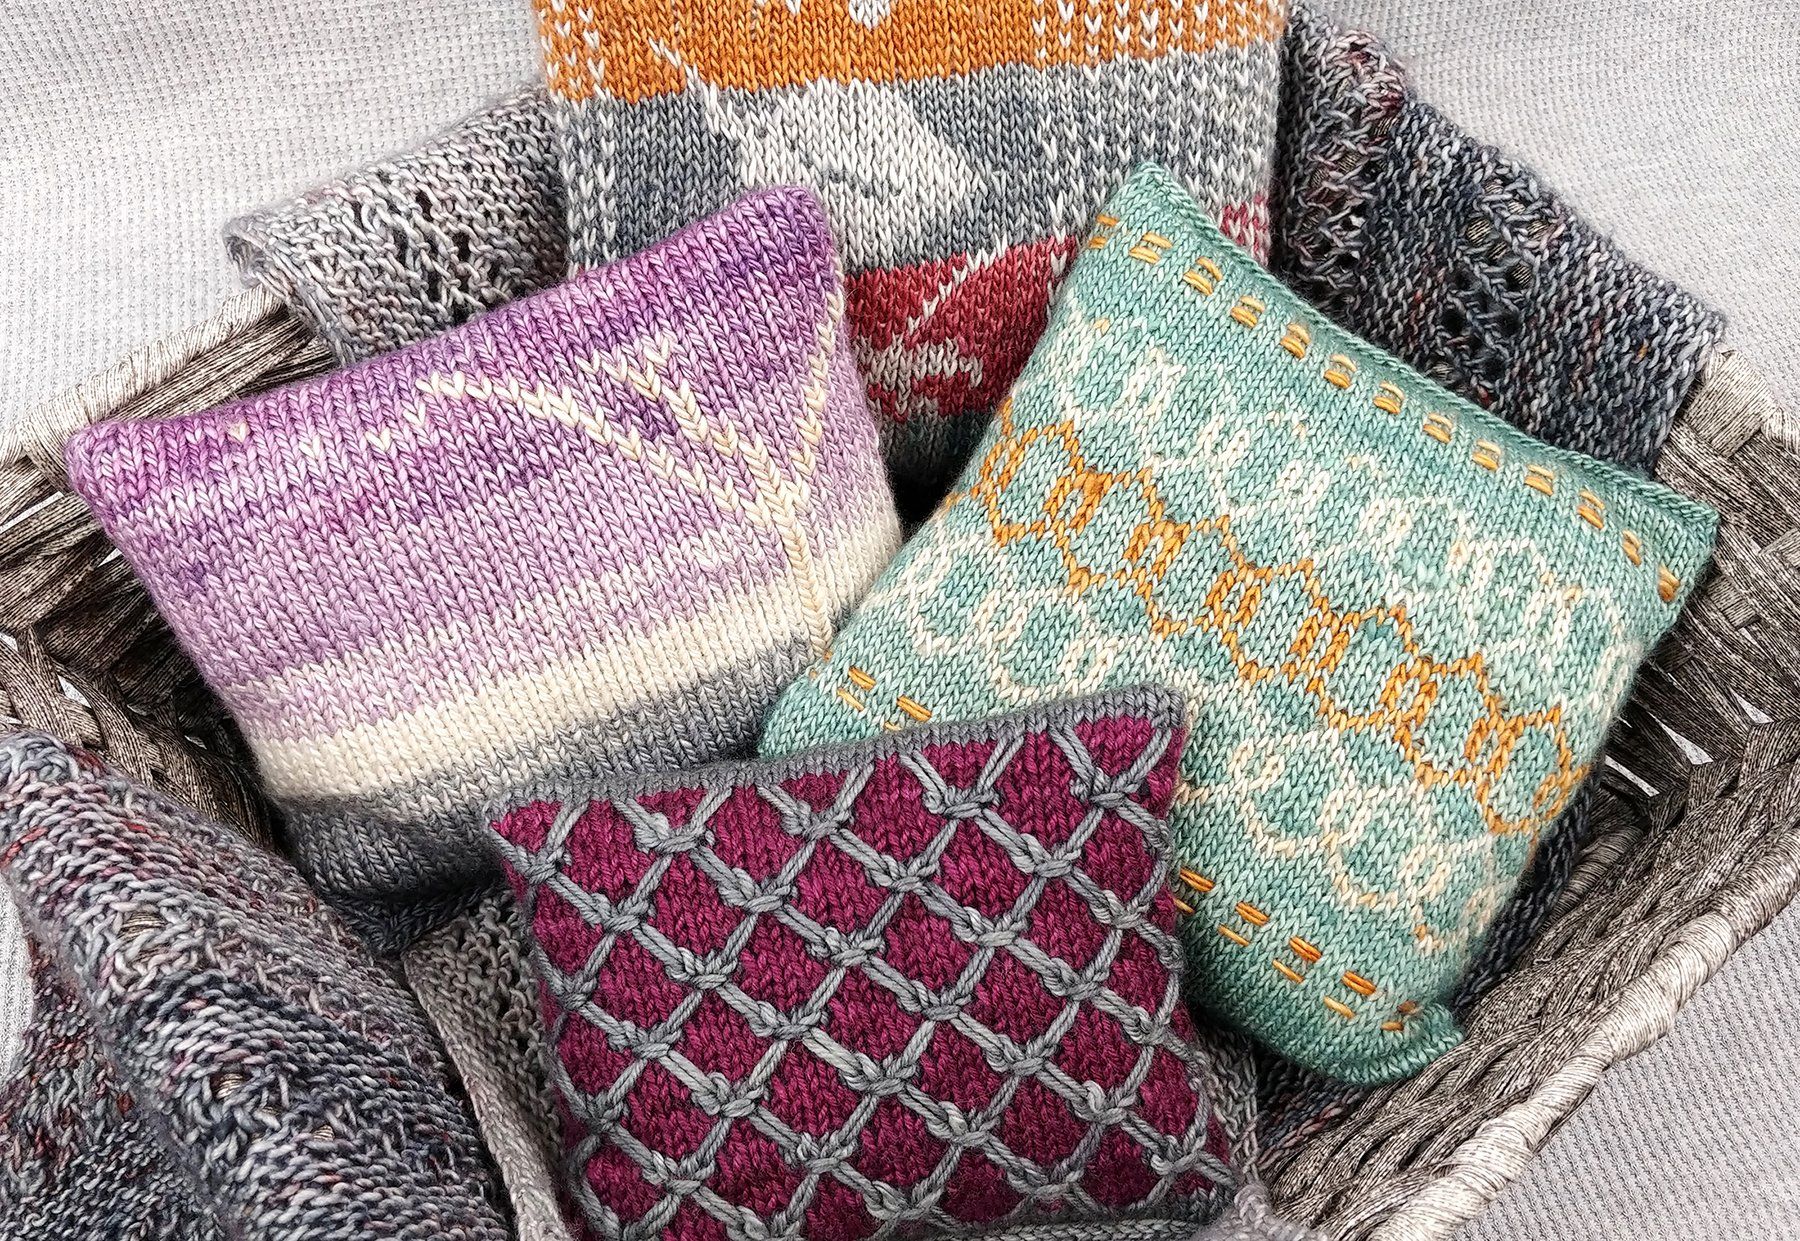
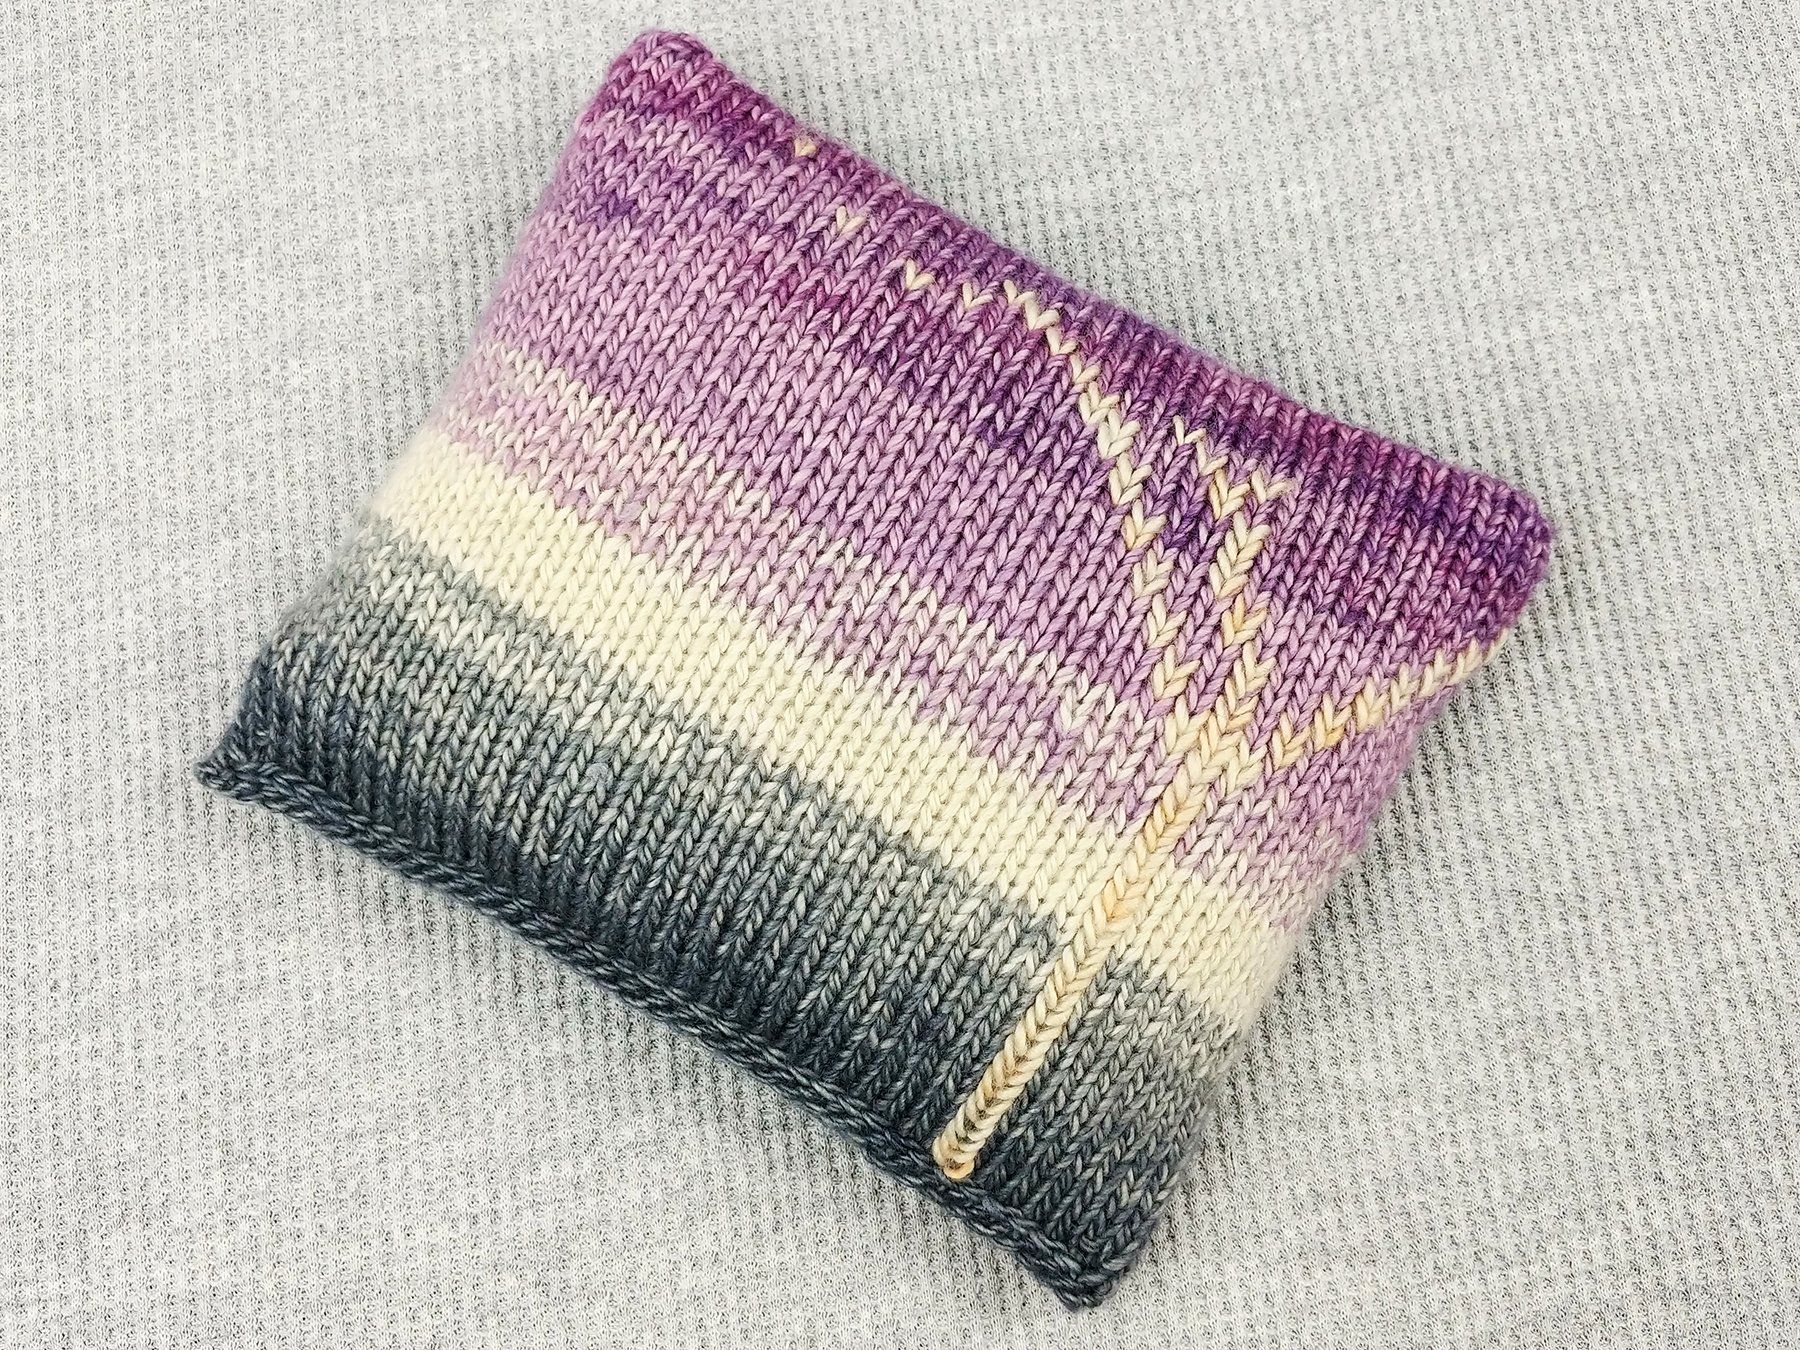
Now that you've knitted up your YarnSketch pillow, let's create the pillow form and put it together! You can always purchase a ready-made pillow form and knit your YarnSketch to the size of the pillow form (instructions for planning and modifying the size are included in most of the YarnSketch patterns), but it's super simple to make your own. Let's get started!
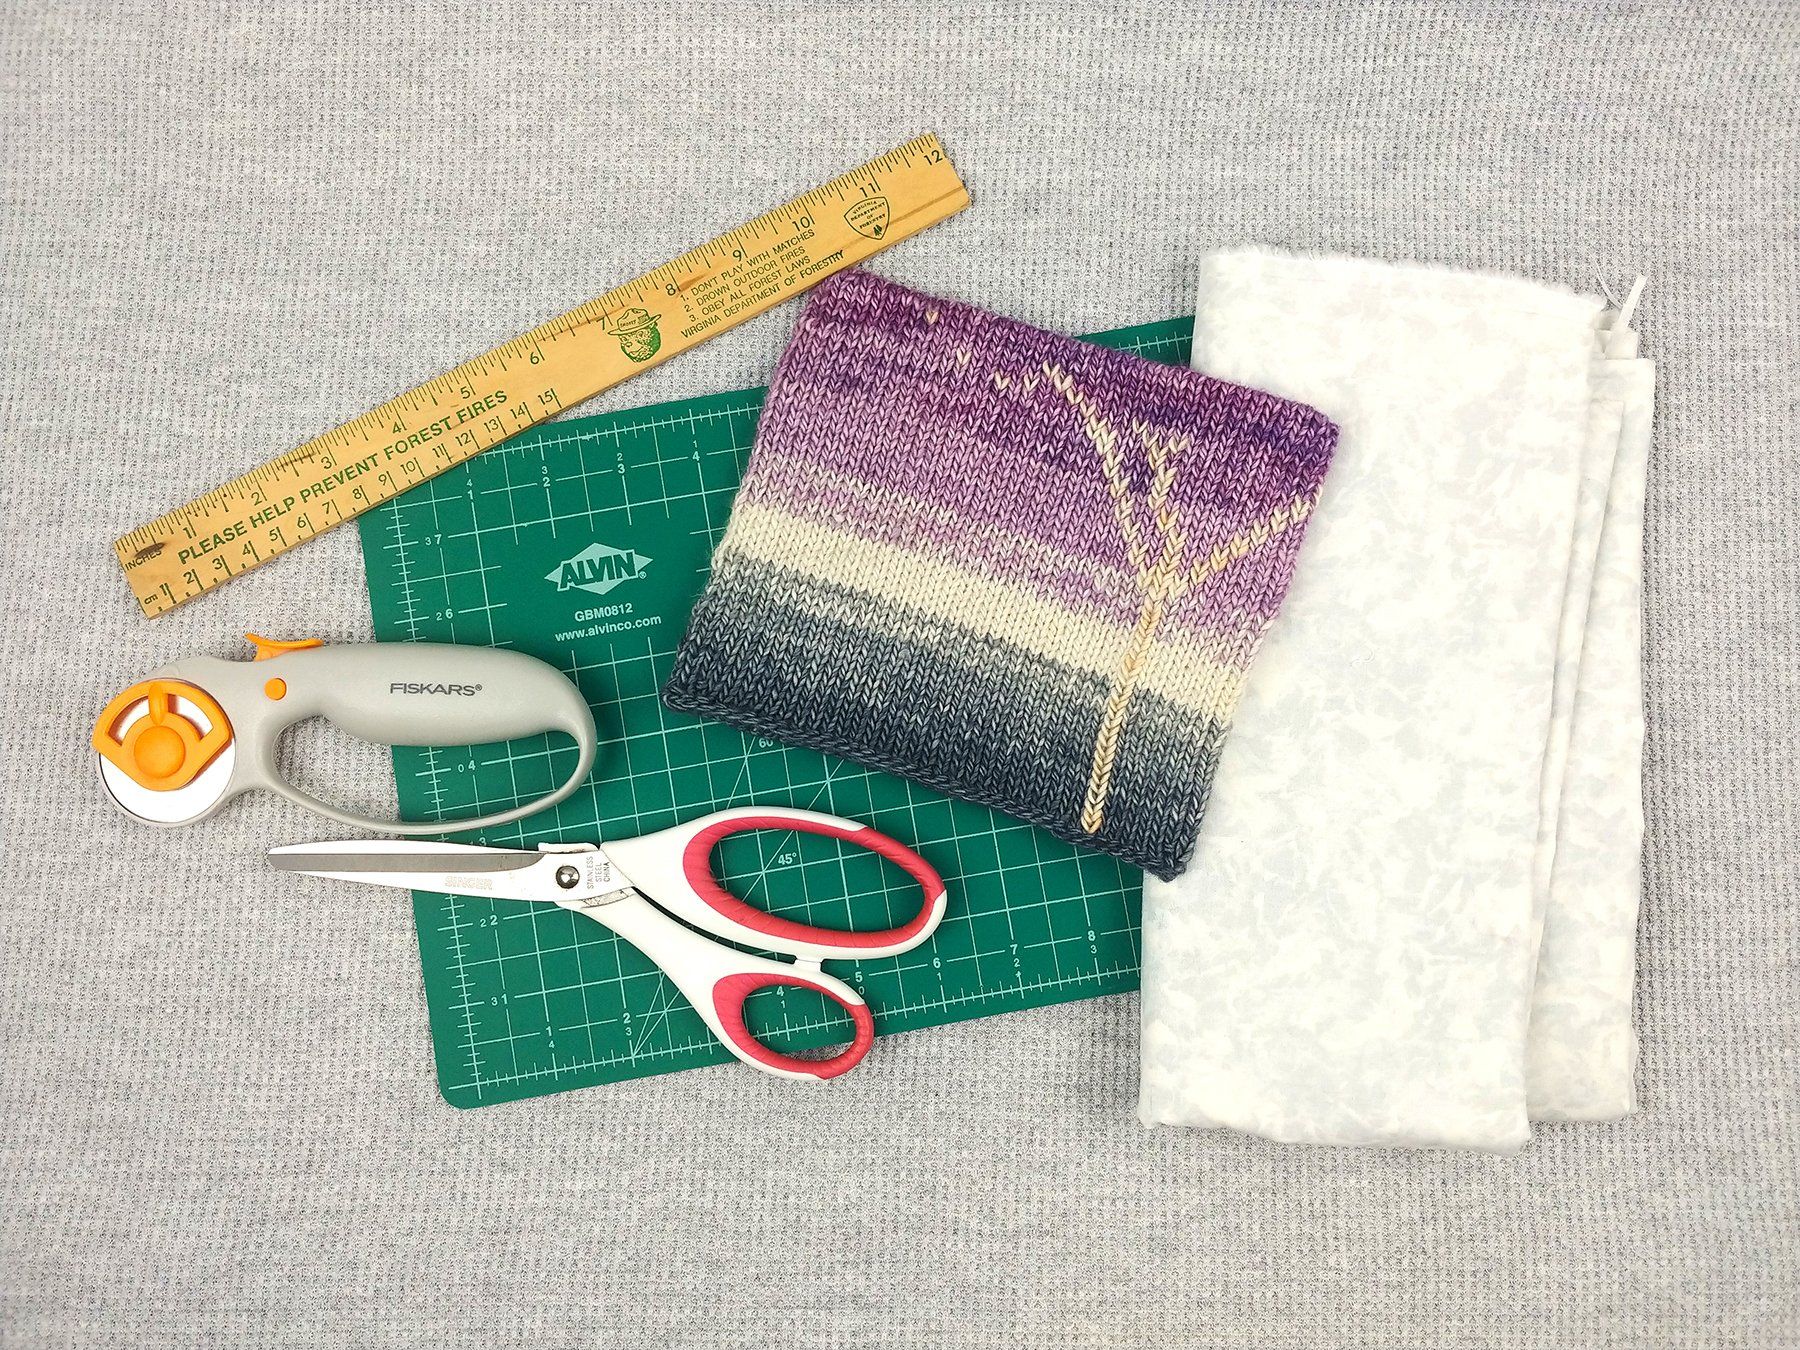
Supplies Needed
- Fabric: roughly twice the width of your pillow and twice the height of your pillow
- Ruler (or a printer to print cutting templates)
- Scissors (or rotary cutter and cutting mat)
- Stuffing
- Sewing machine
- Needle and thread for stitching pillow form closed
- Crochet hook (optional)
- Tapestry needle for seaming and/or weaving in yarn ends
I used a cutting mat, but you definitely don't need one if you're not using a rotary cutter; a table or the floor works just fine.
I used a rotary cutter and a ruler to cut the size of the fabric I need, but if you don't have or like those things, I recommend using Microsoft Publisher or similar software to create a square or rectangle template the size you need and just print out your pattern.
1. Cut Your Fabric
Now let's figure out what size to cut your fabric. Measure your pillow's width and height.
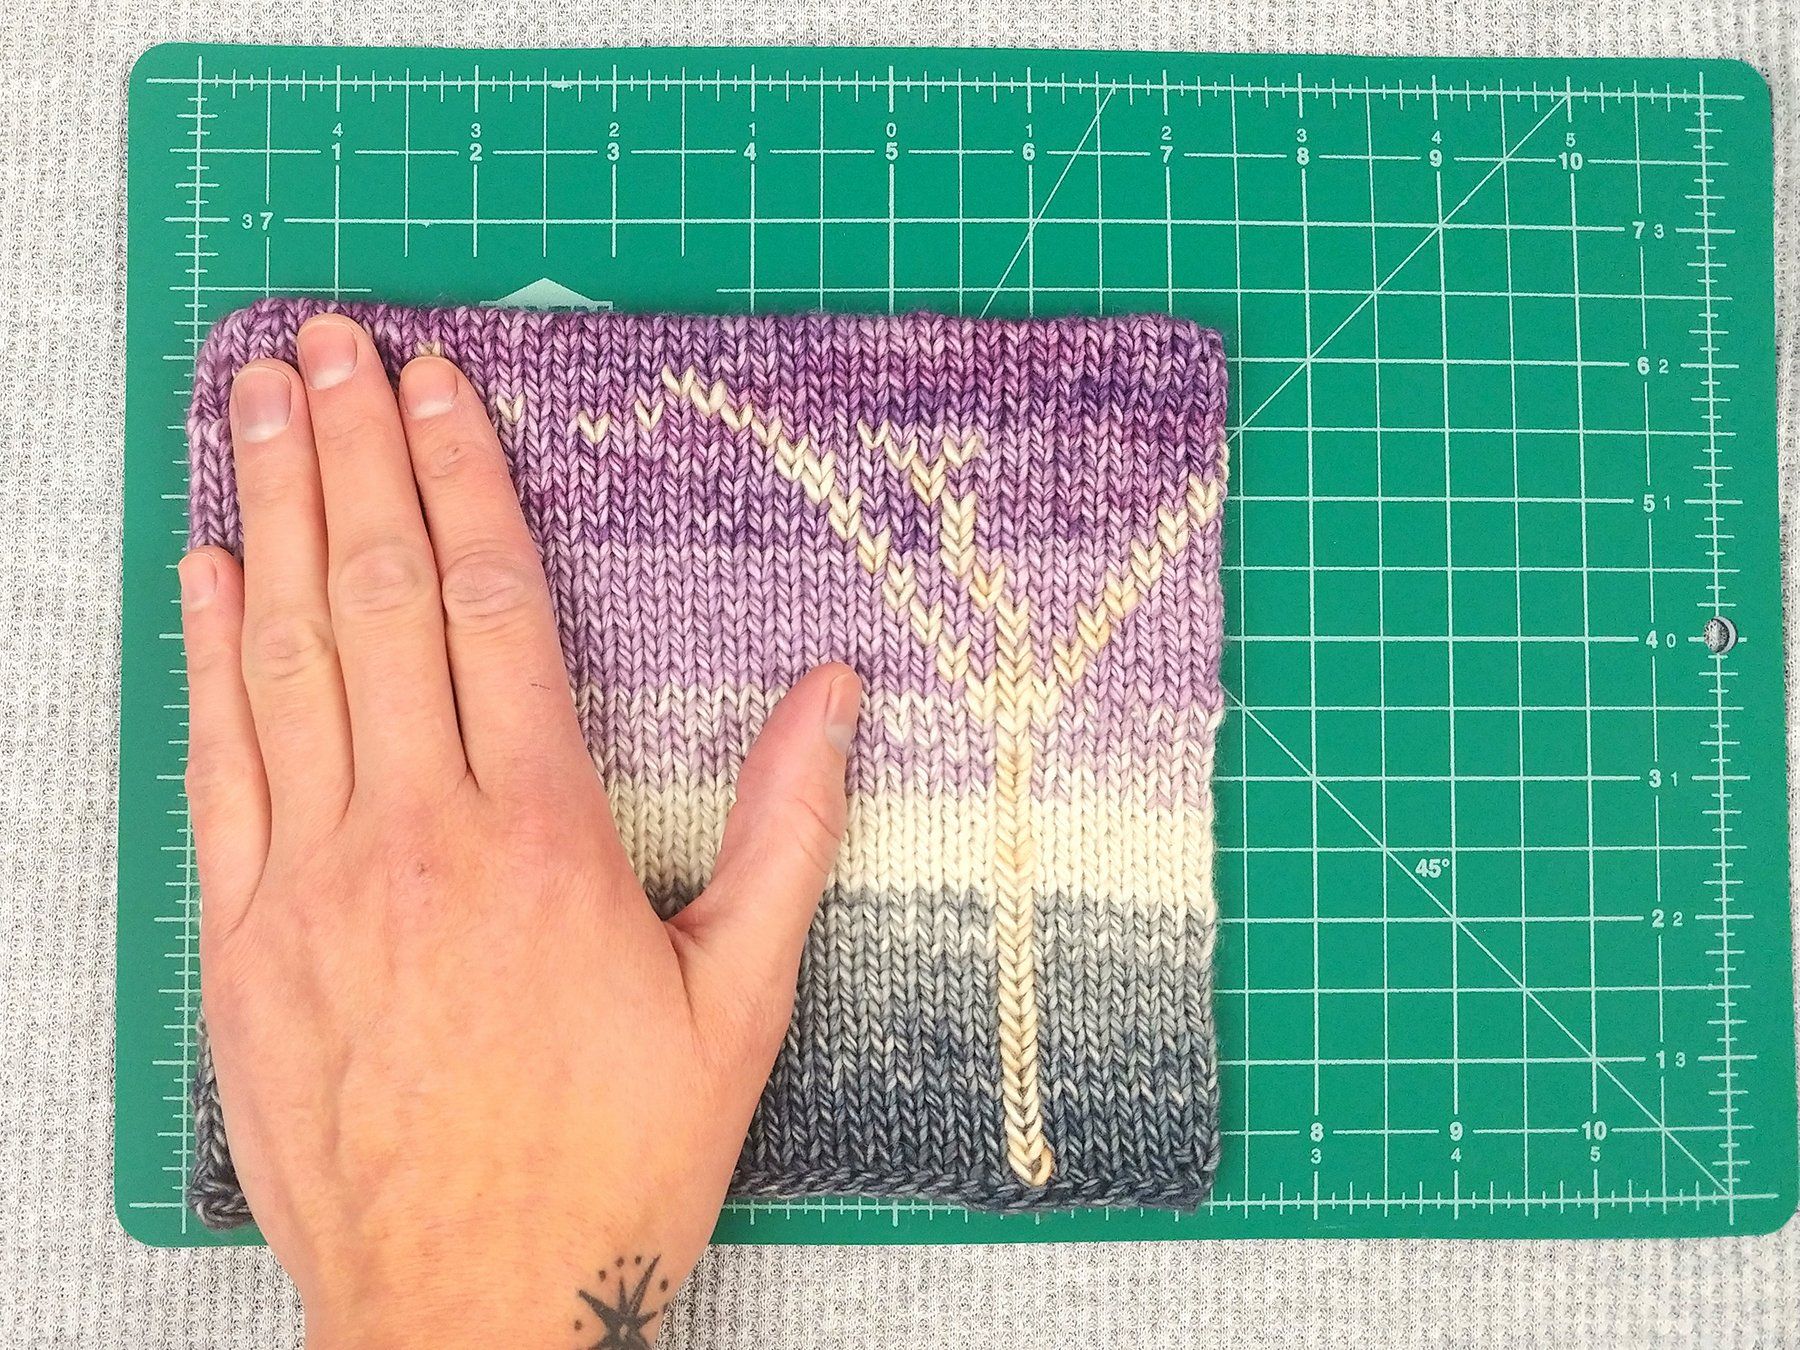
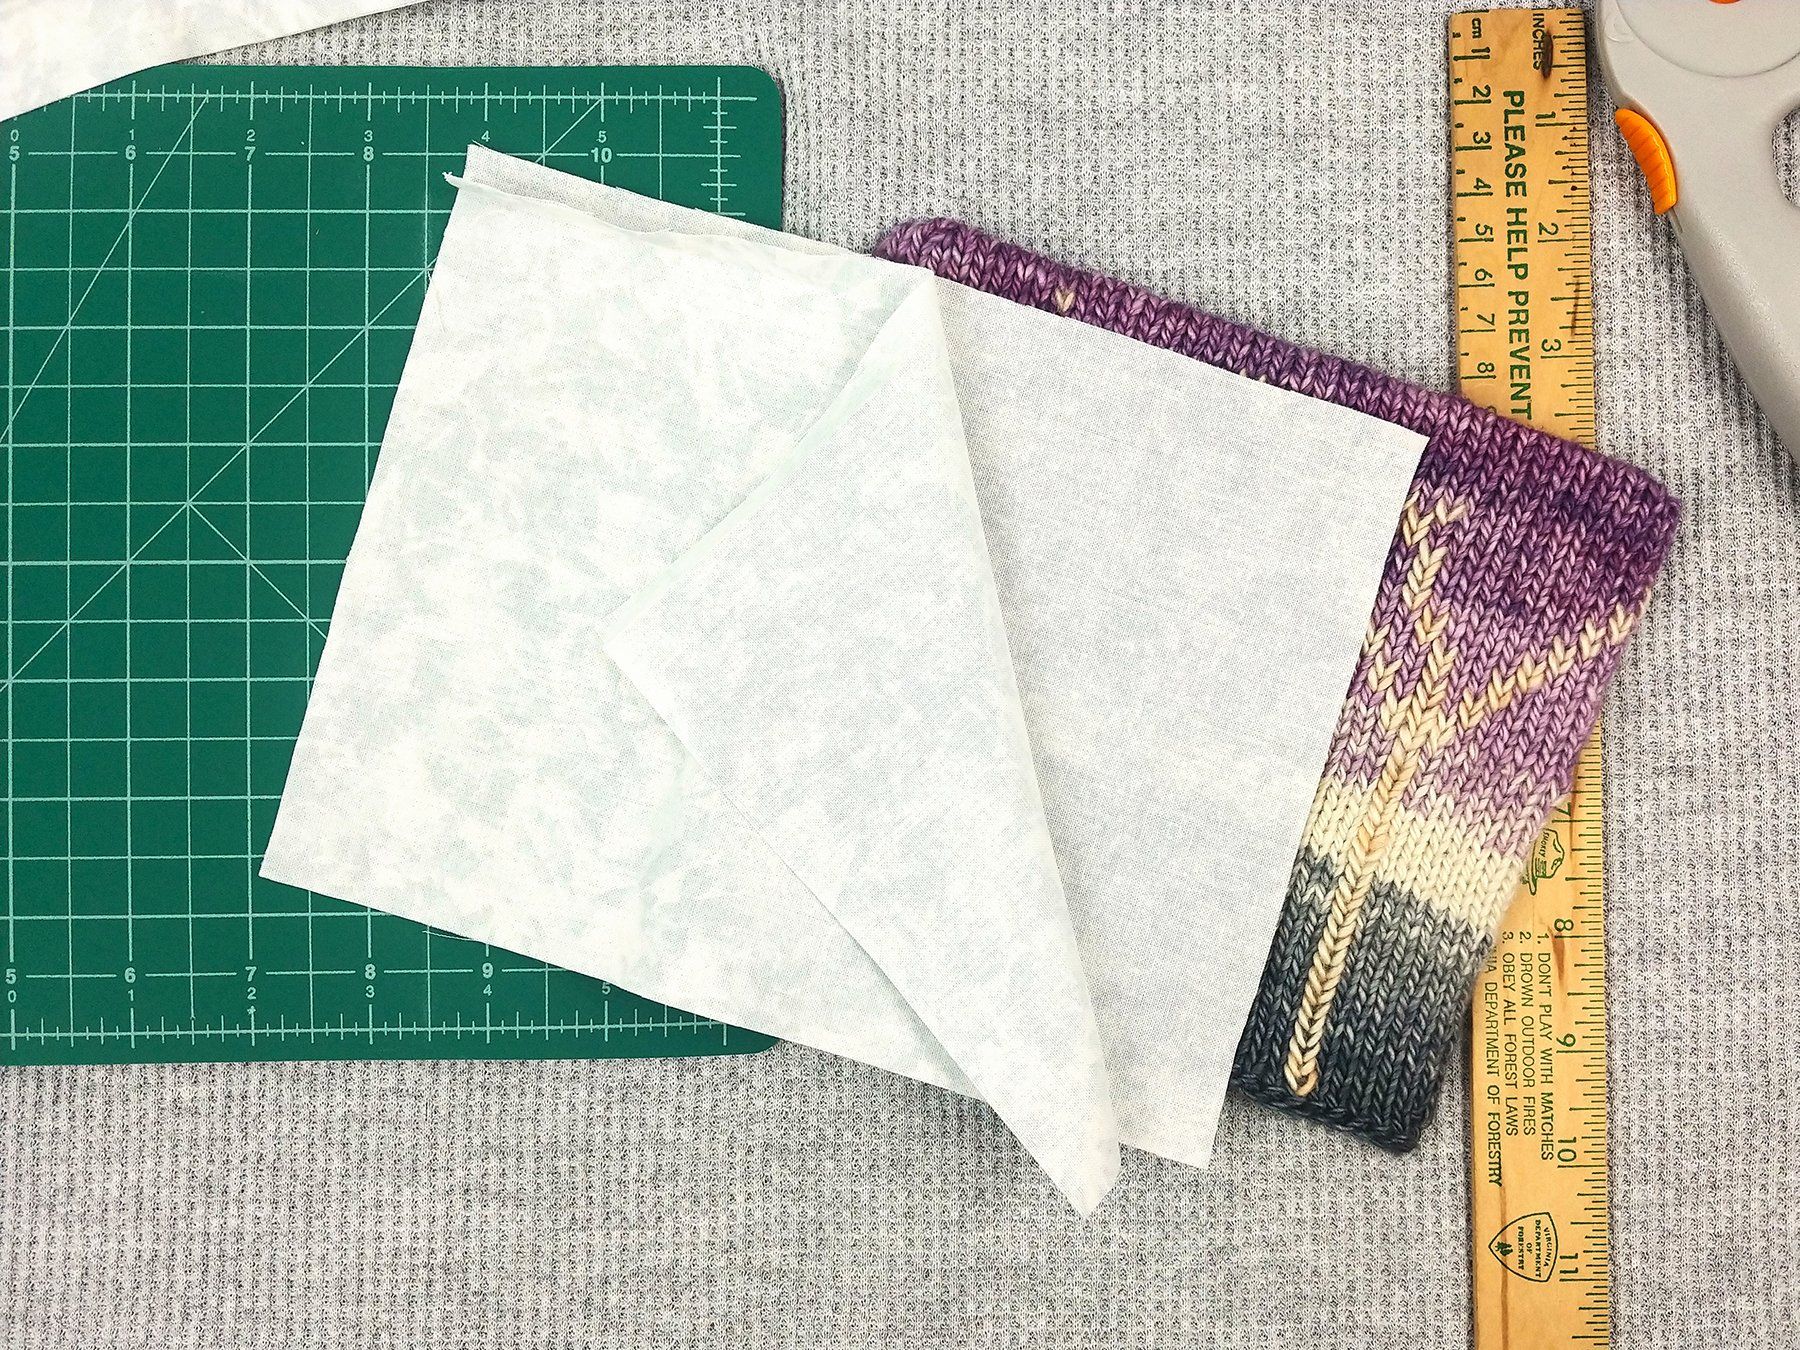
Add approximately 1 inch to both the width and height measurement. This is the size of the fabric you need; cut two pieces.
For example, my pillow is 7.5 inches wide and 6.5 inches high, so I cut two pieces of fabric 8.5 inches wide and 7.5 inches high.
If you don't feel comfortable measuring and cutting right on the fabric, you can draw (or print from a computer) the required measurements on paper, pin the paper template to the fabric, and cut around the paper template.
2. Sew the Fabric Pieces Together
Place the fabric pieces together with the wrong side of each facing outward (right sides together). With your sewing machine, stitch around the entire outside edge with a 1/4" seam allowance, leaving an opening of about three inches on one side.
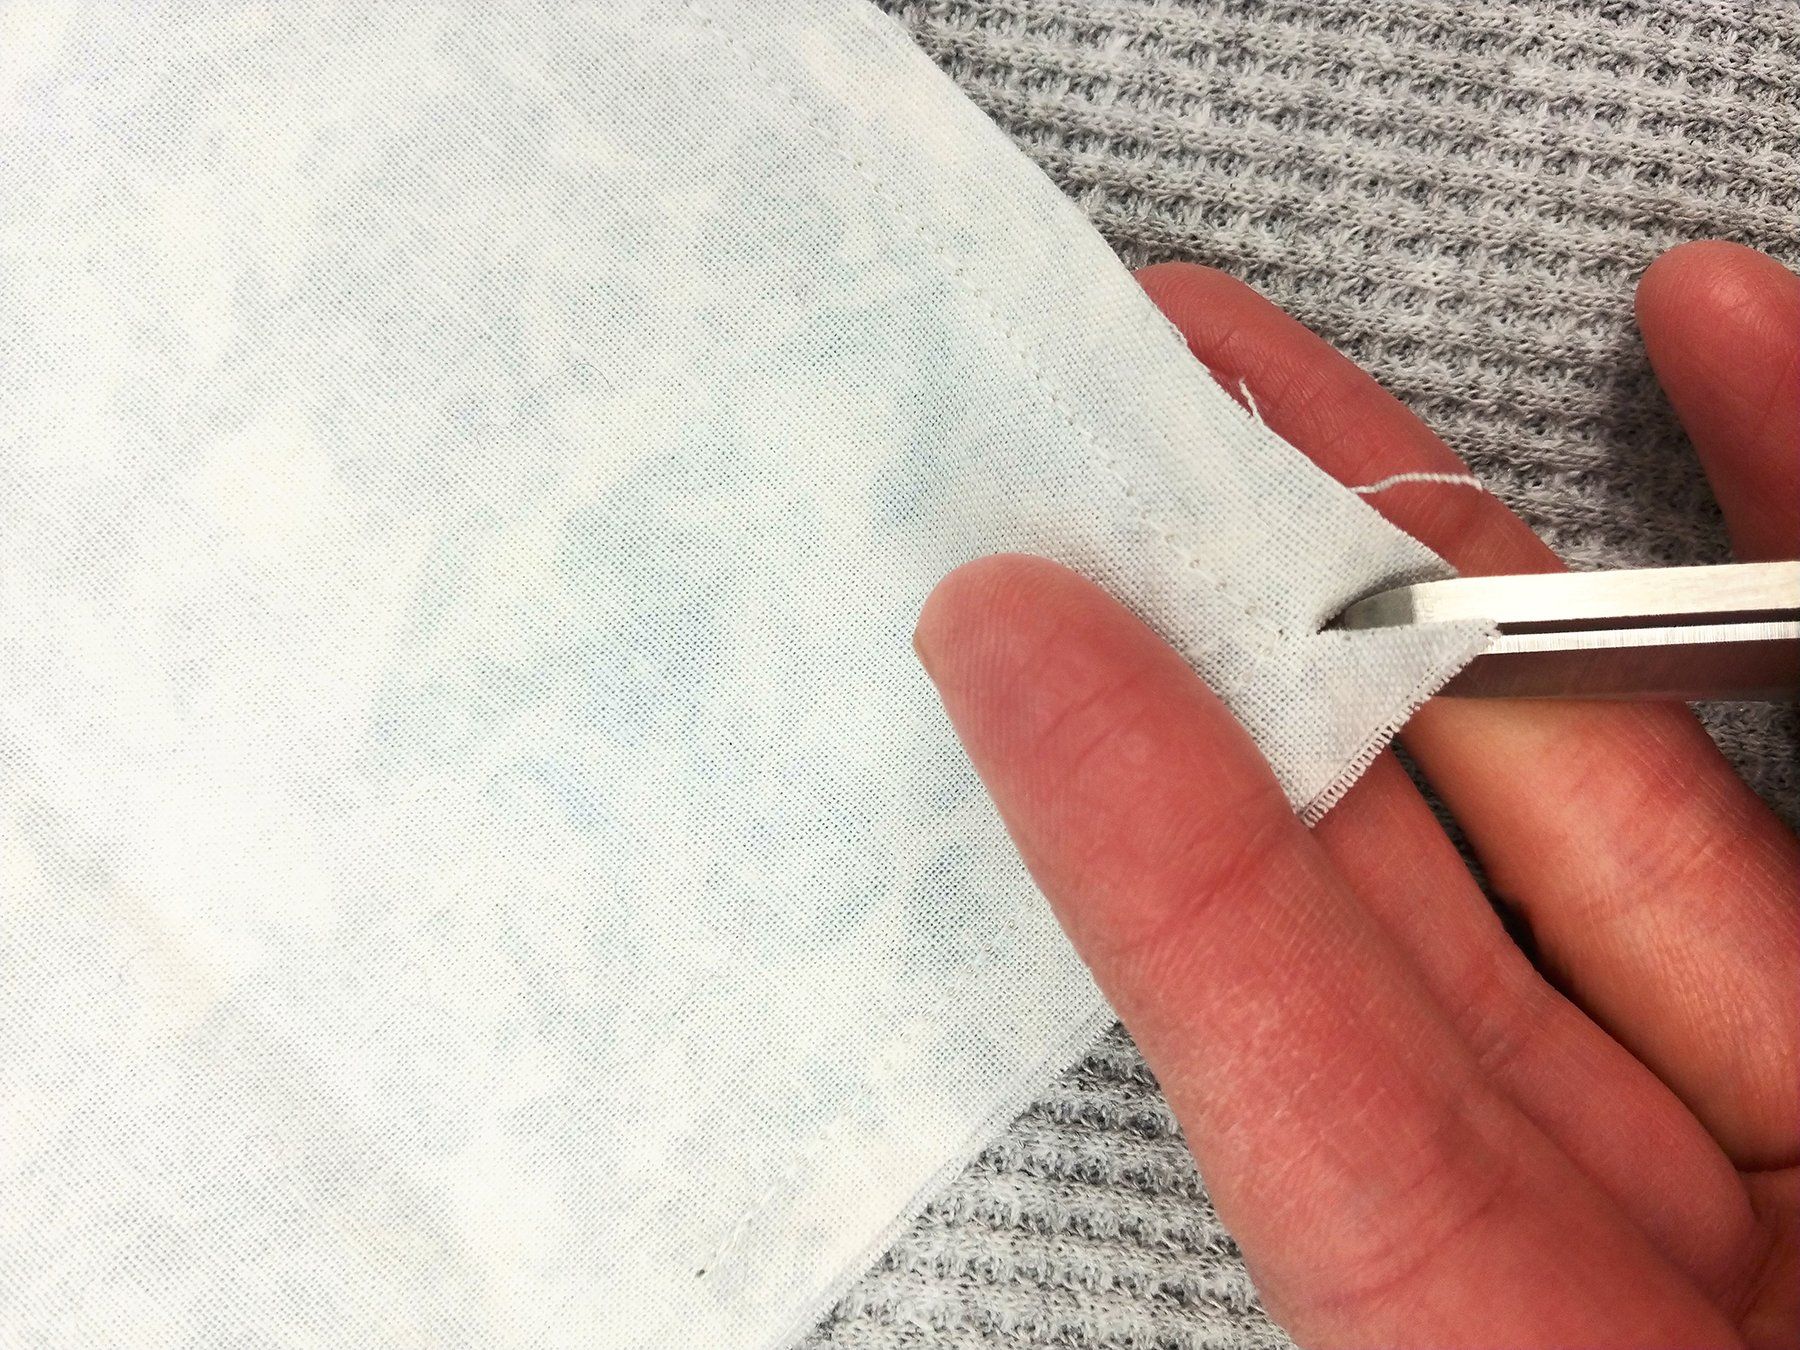
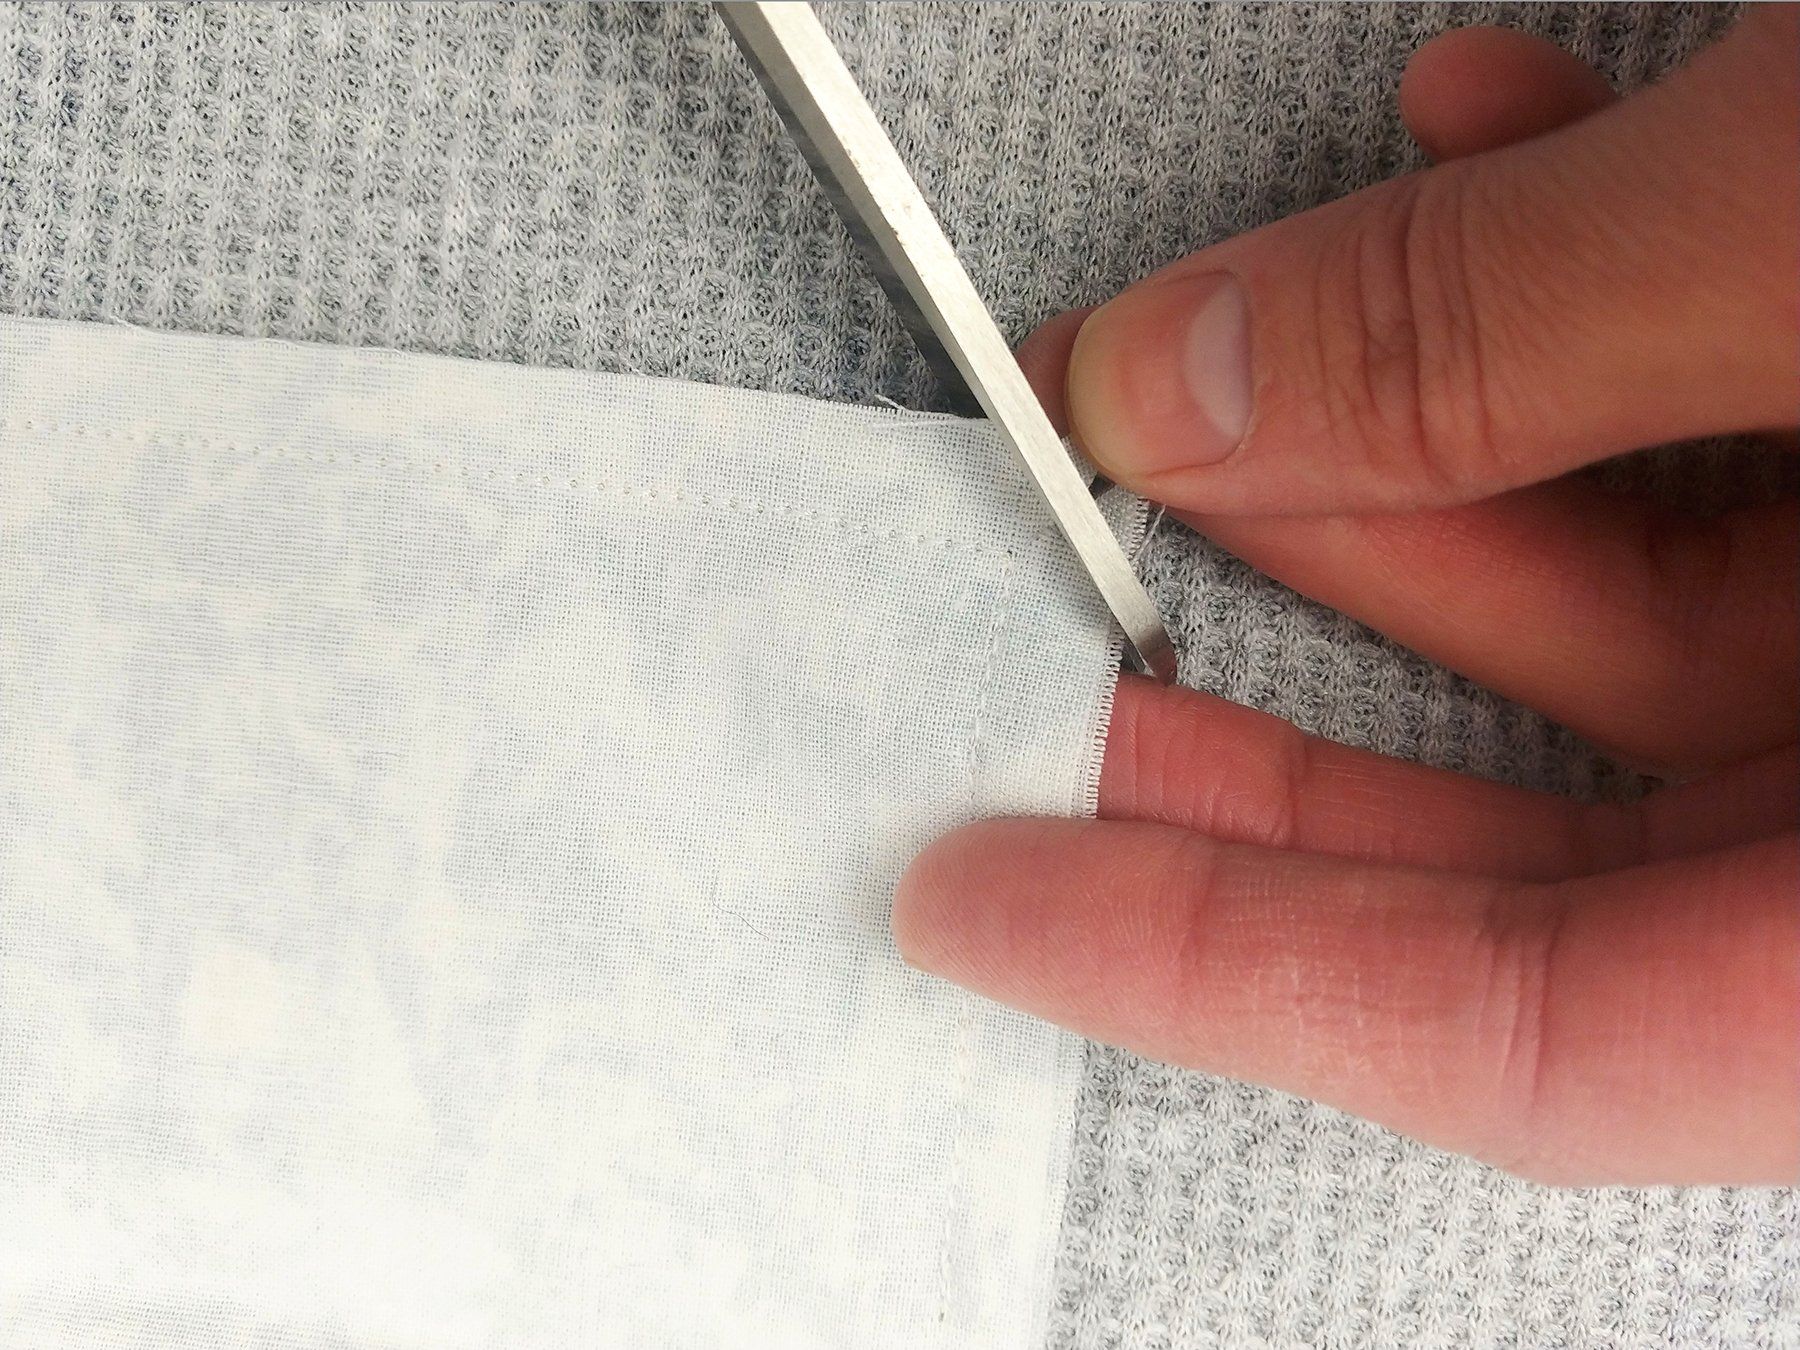
With scissors, clip each of the corner seam allowances of your pillow by snipping first from the point of the corner almost to the point of the seam and then across the corner (see pictures below).
Turn your pillow right side out through the gap you left in the seam.
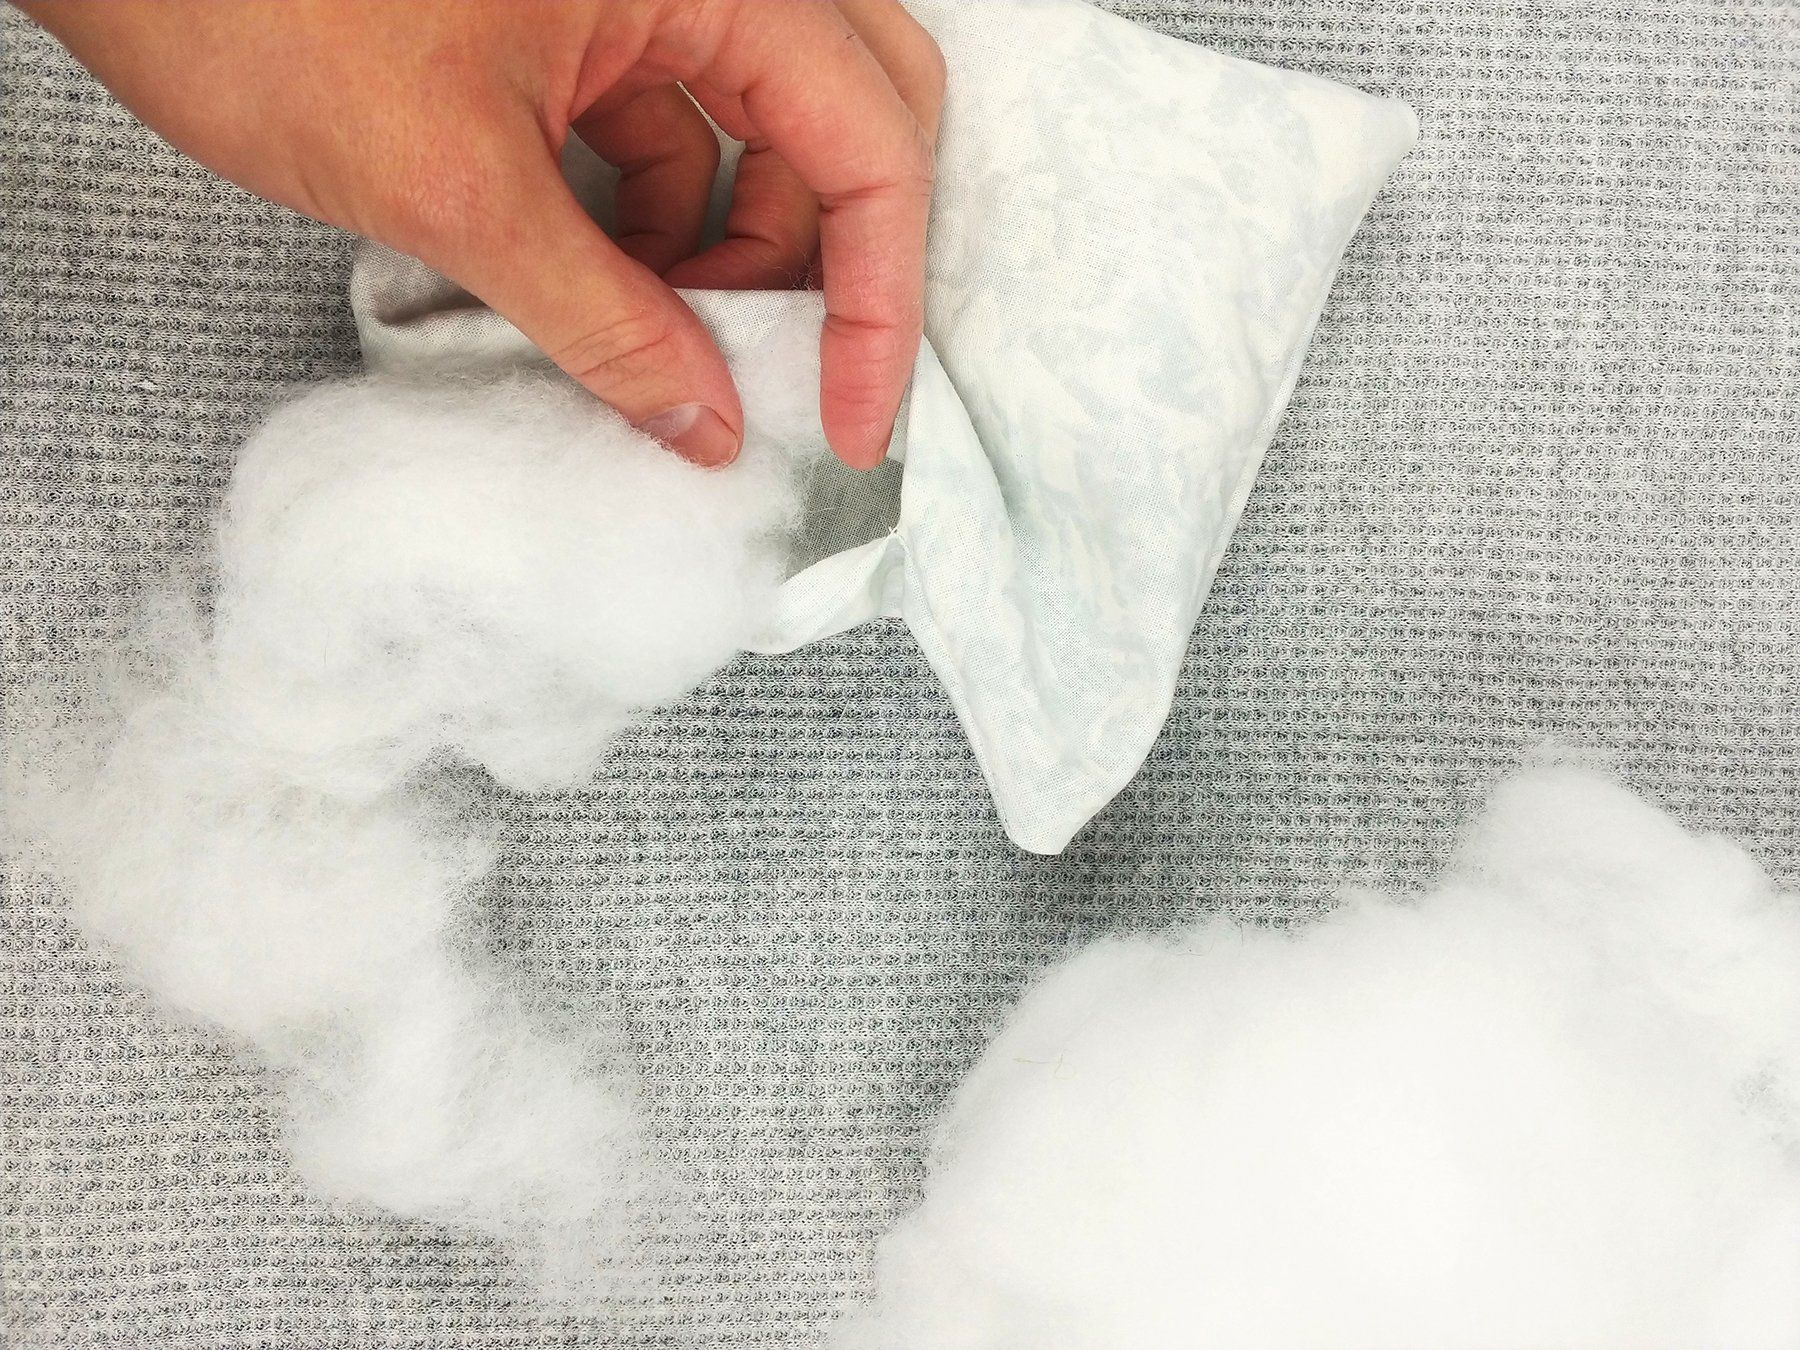
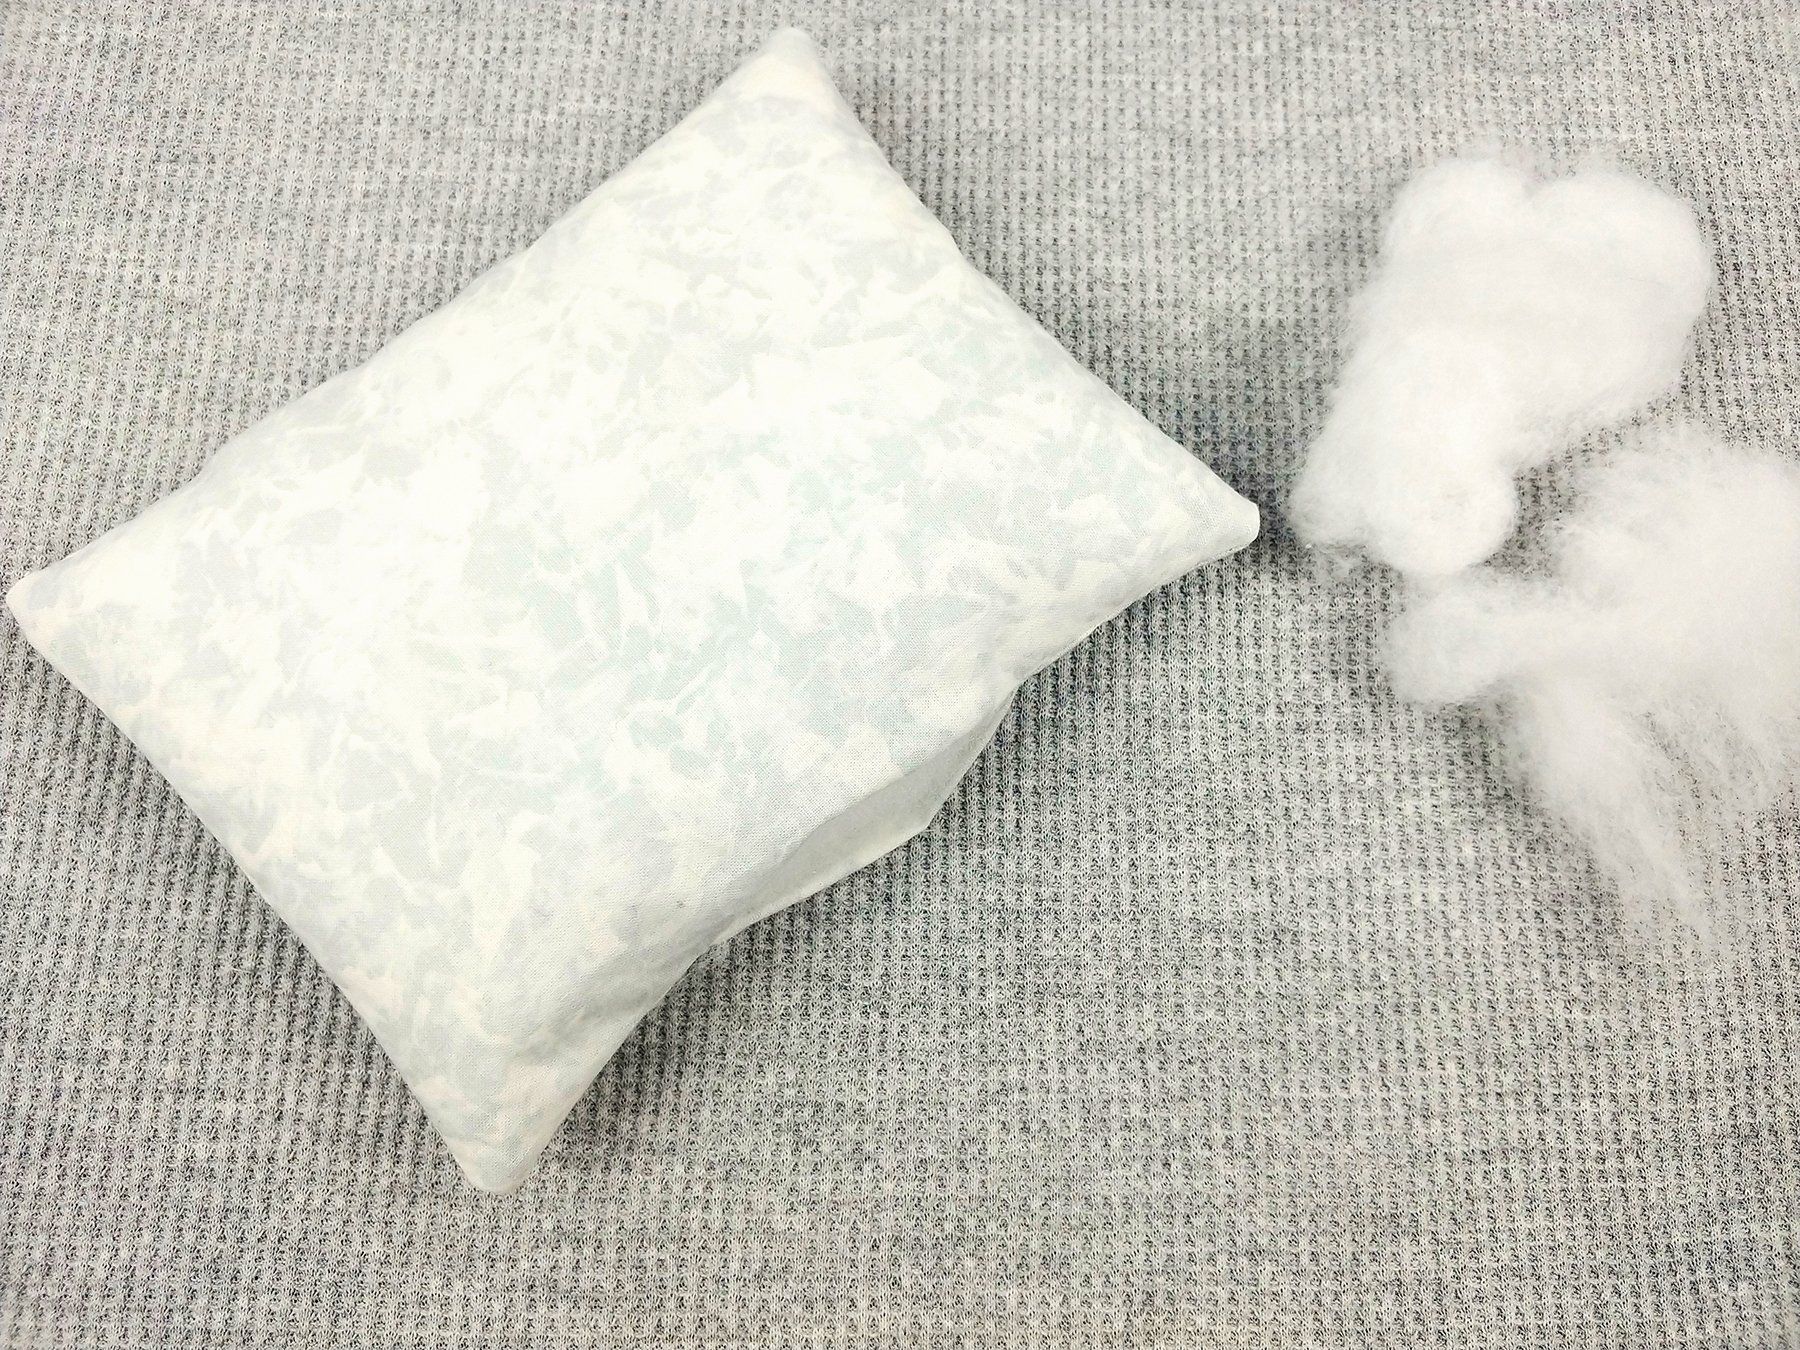
3. Stuff Your Pillow
Stuff the pillow to your desired fullness. I don't like my pillows fat, so I don't stuff them tightly, but if you like them fat, stuff it just as full as you like!
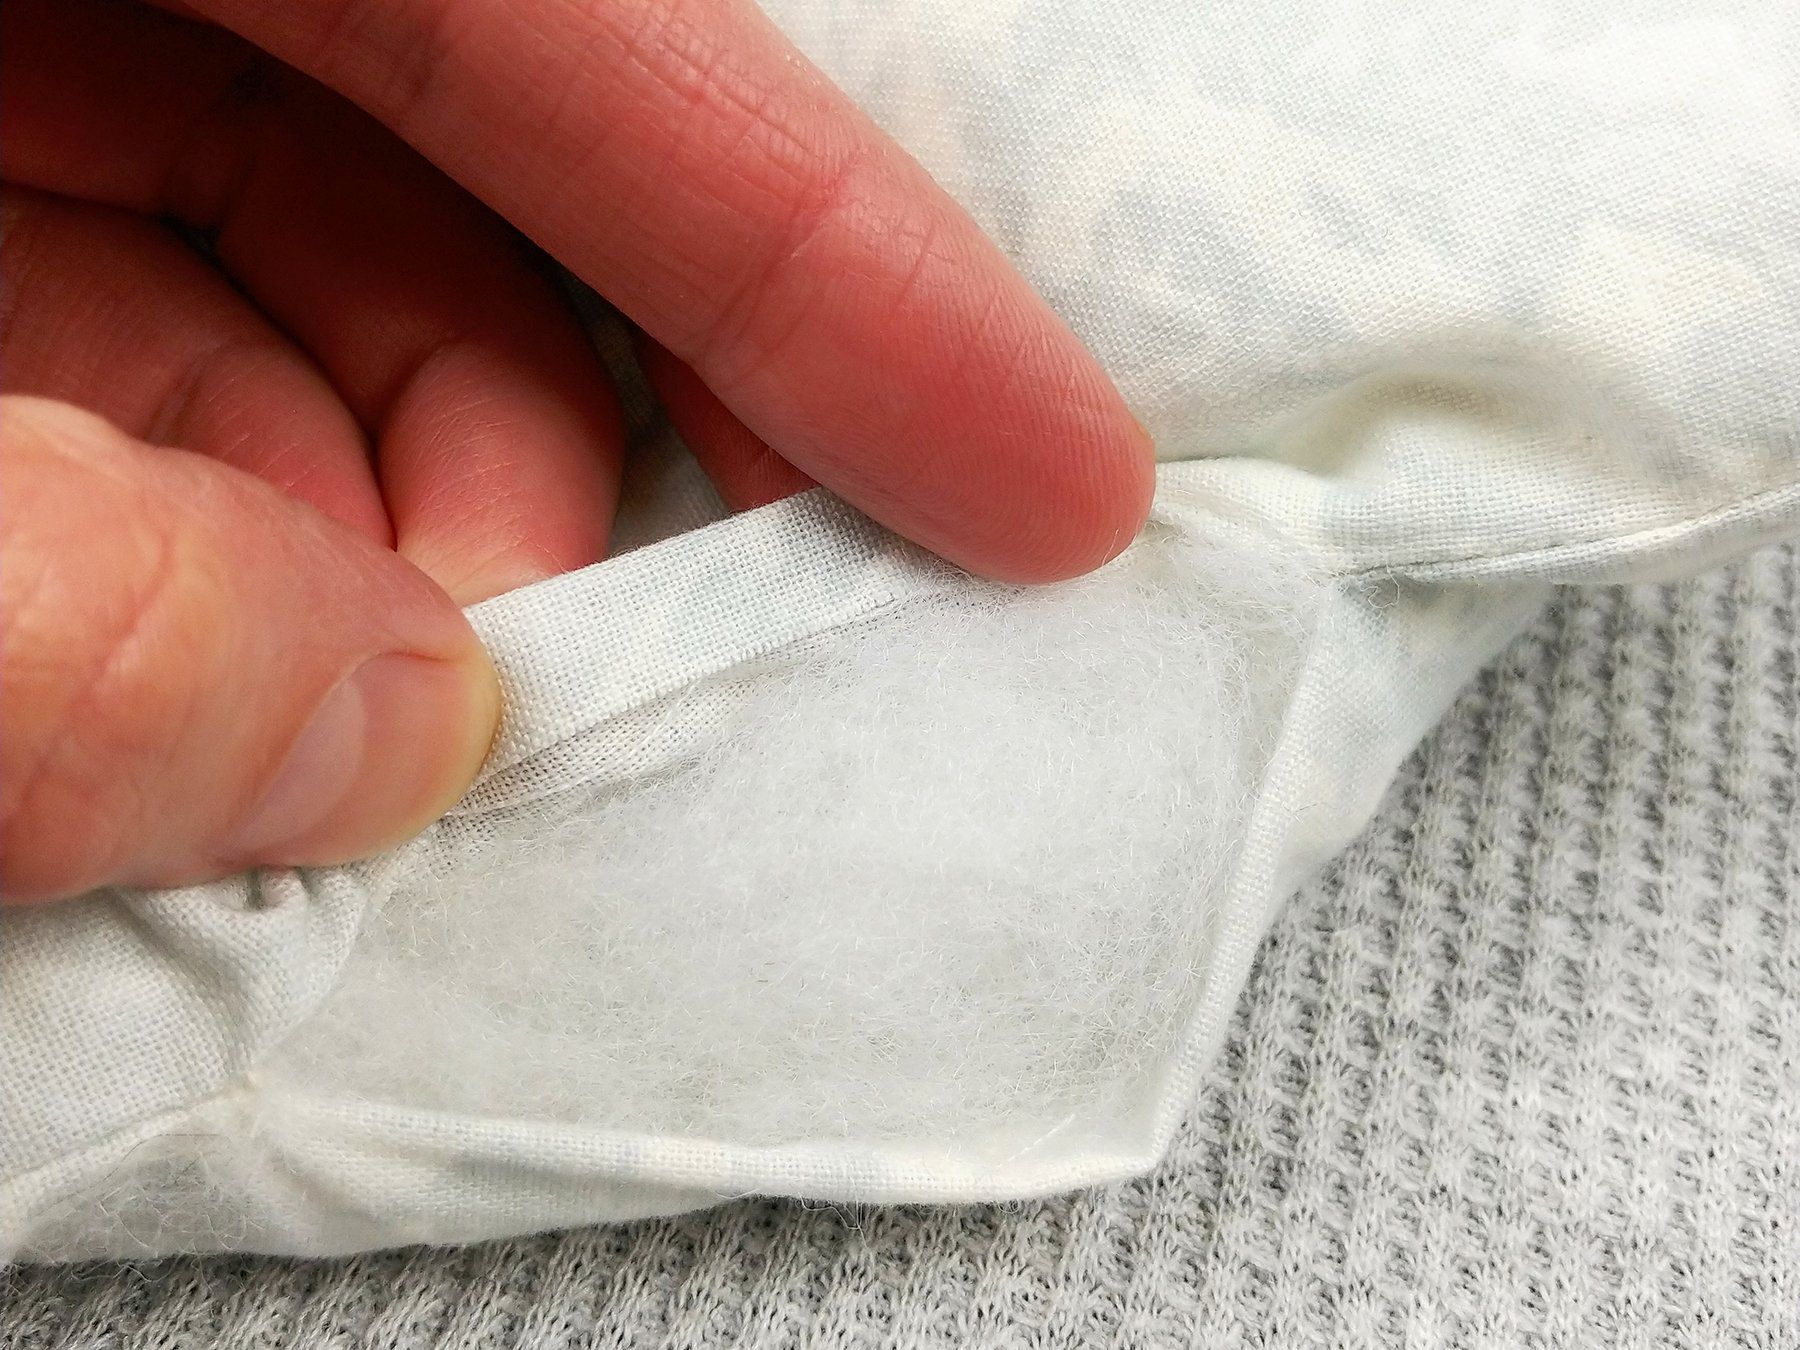
4. Close the Seam
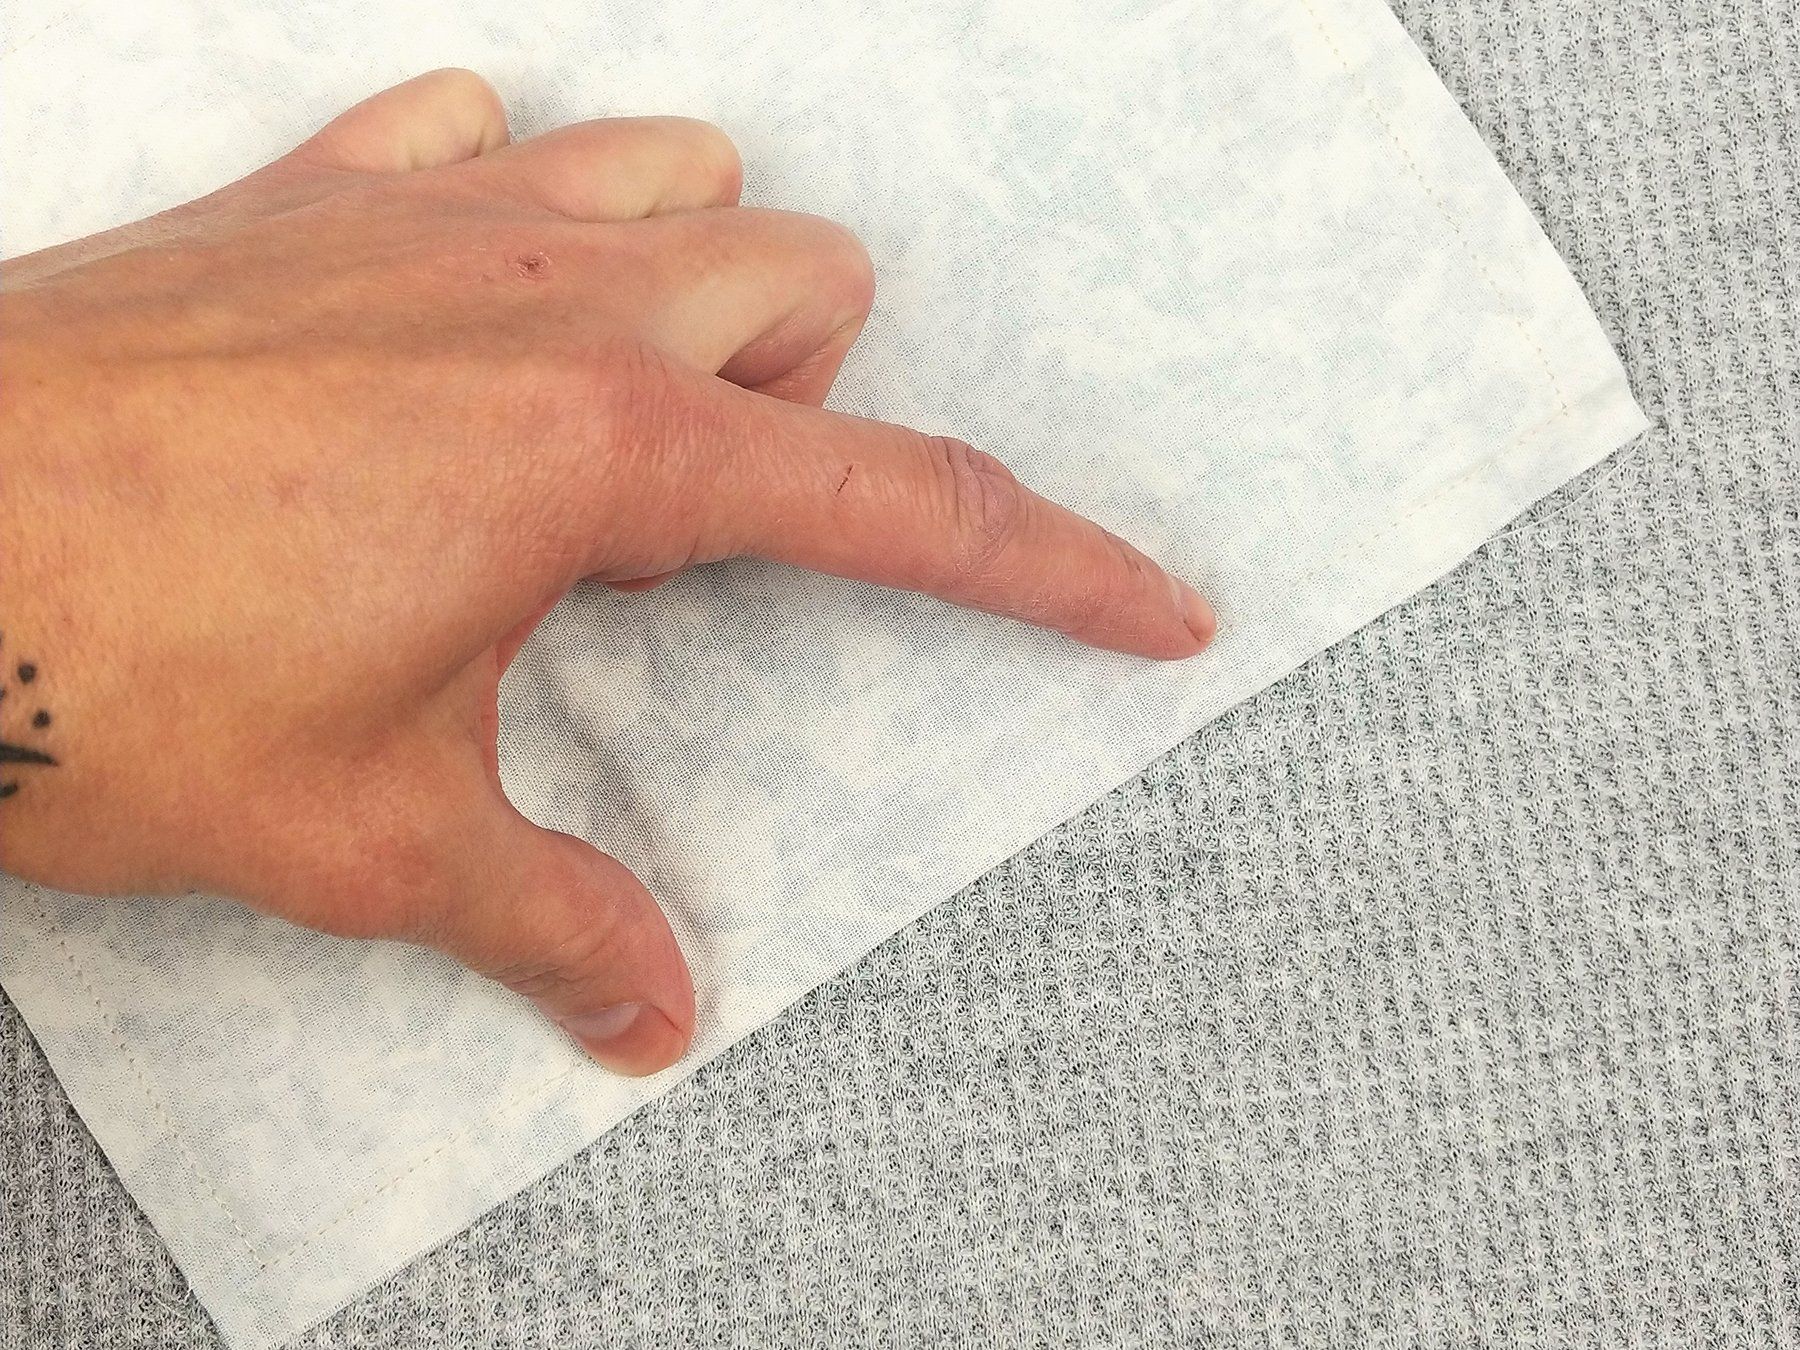
Now we'll sew up that hole. With your fingers, fold under each raw edge of fabric to match the fabric folded by the seams. It will actually be folded already because of the seams, but it's helpful to make sure the fold is even all the way across the hole and to press the fold firmly with your fingers, as the fold will be your sewing guide.
Using a needle and thread, stitch the hole shut using a ladder stitch. If you aren't familiar with this, here is a great photo tutorial, and here is a handy video tutorial.
That completes your pillow form! Now let's finish the pillow.
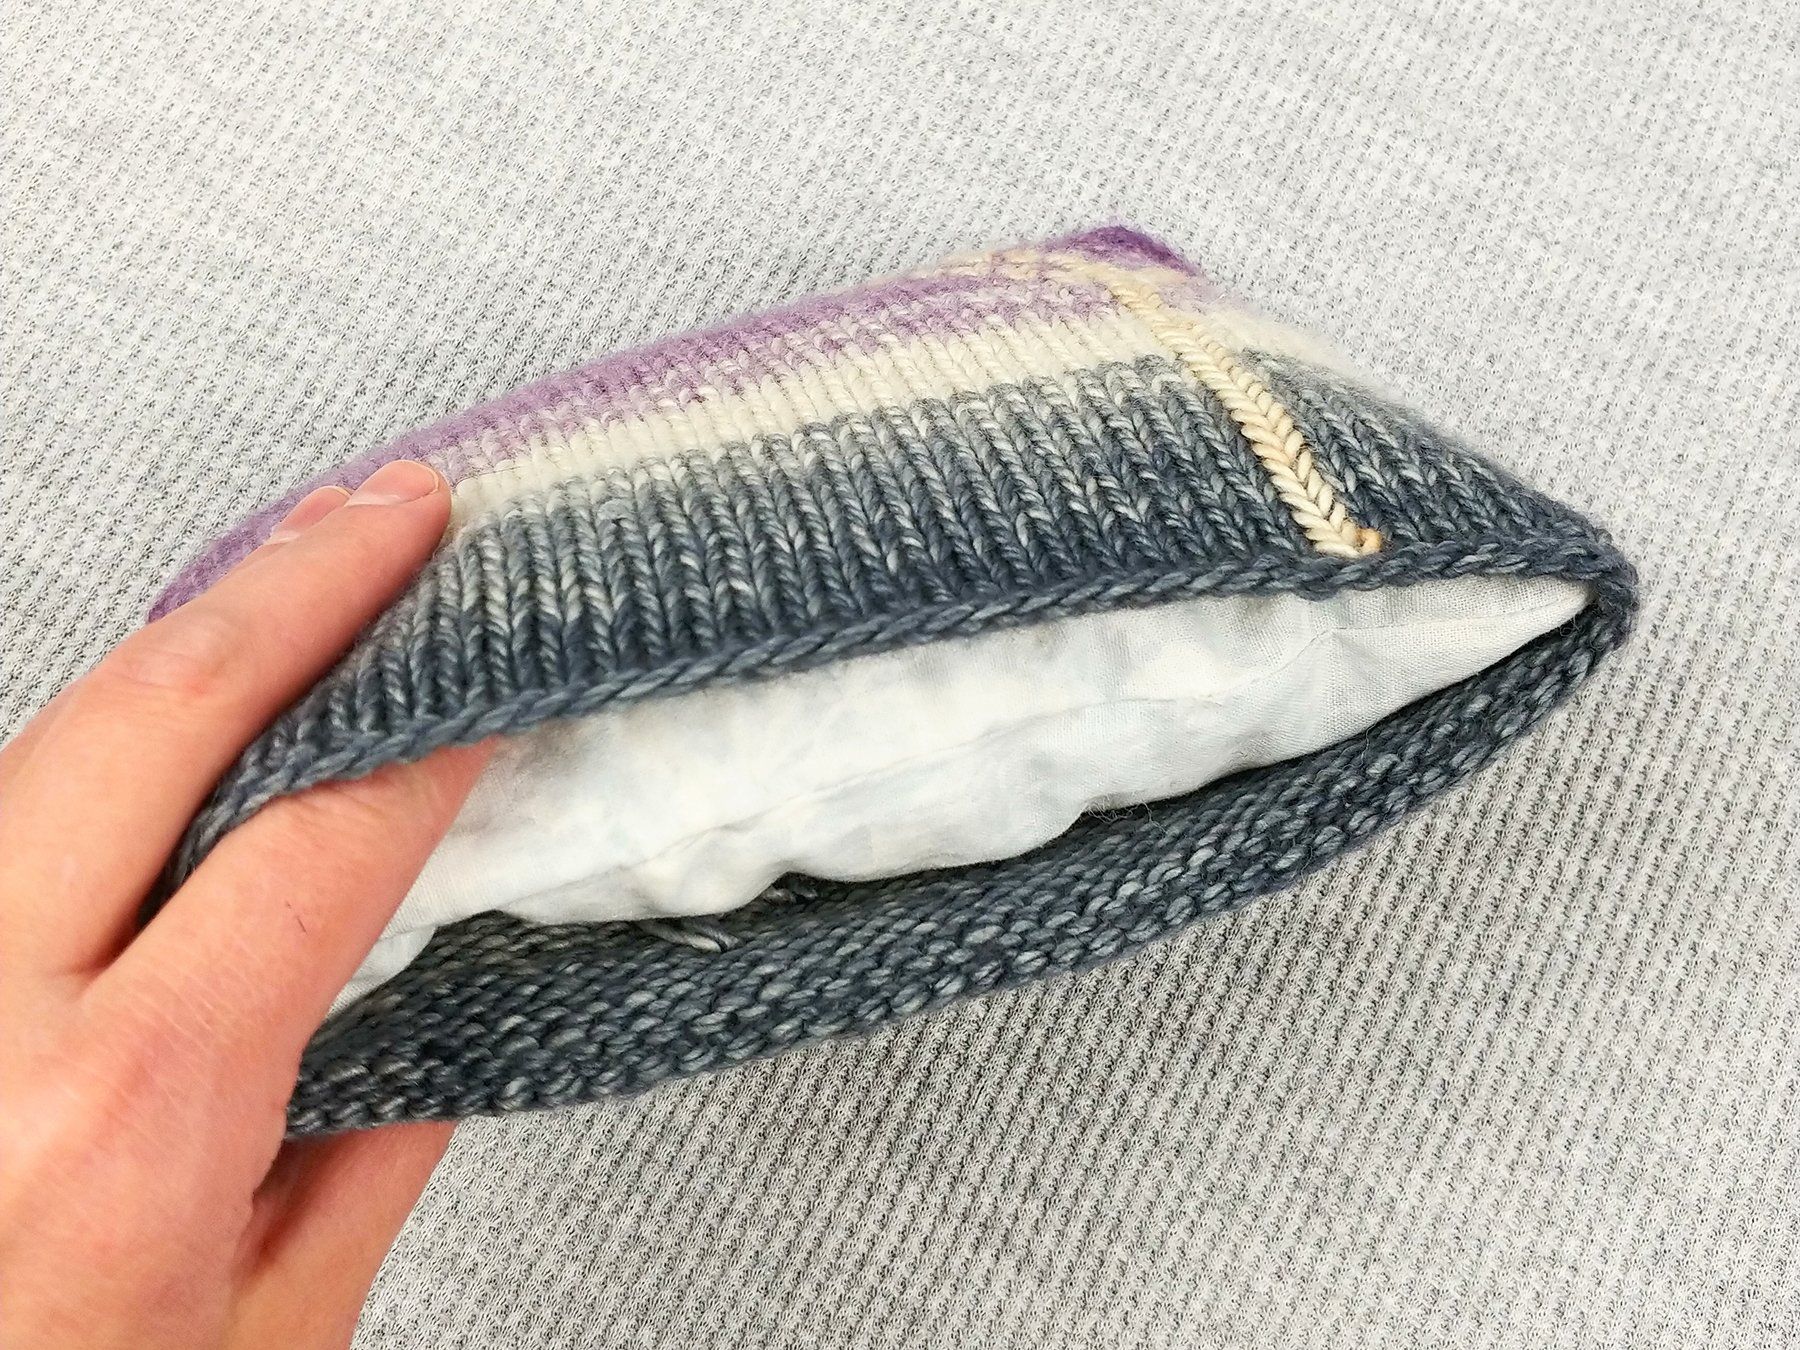
5. Assemble Your YarnSketch Pillow
Insert the pillow form into your YarnSketch pillow "case." This should be a bit of a tight fit; we want the pillow form to stretch the knitted pillow at least slightly.
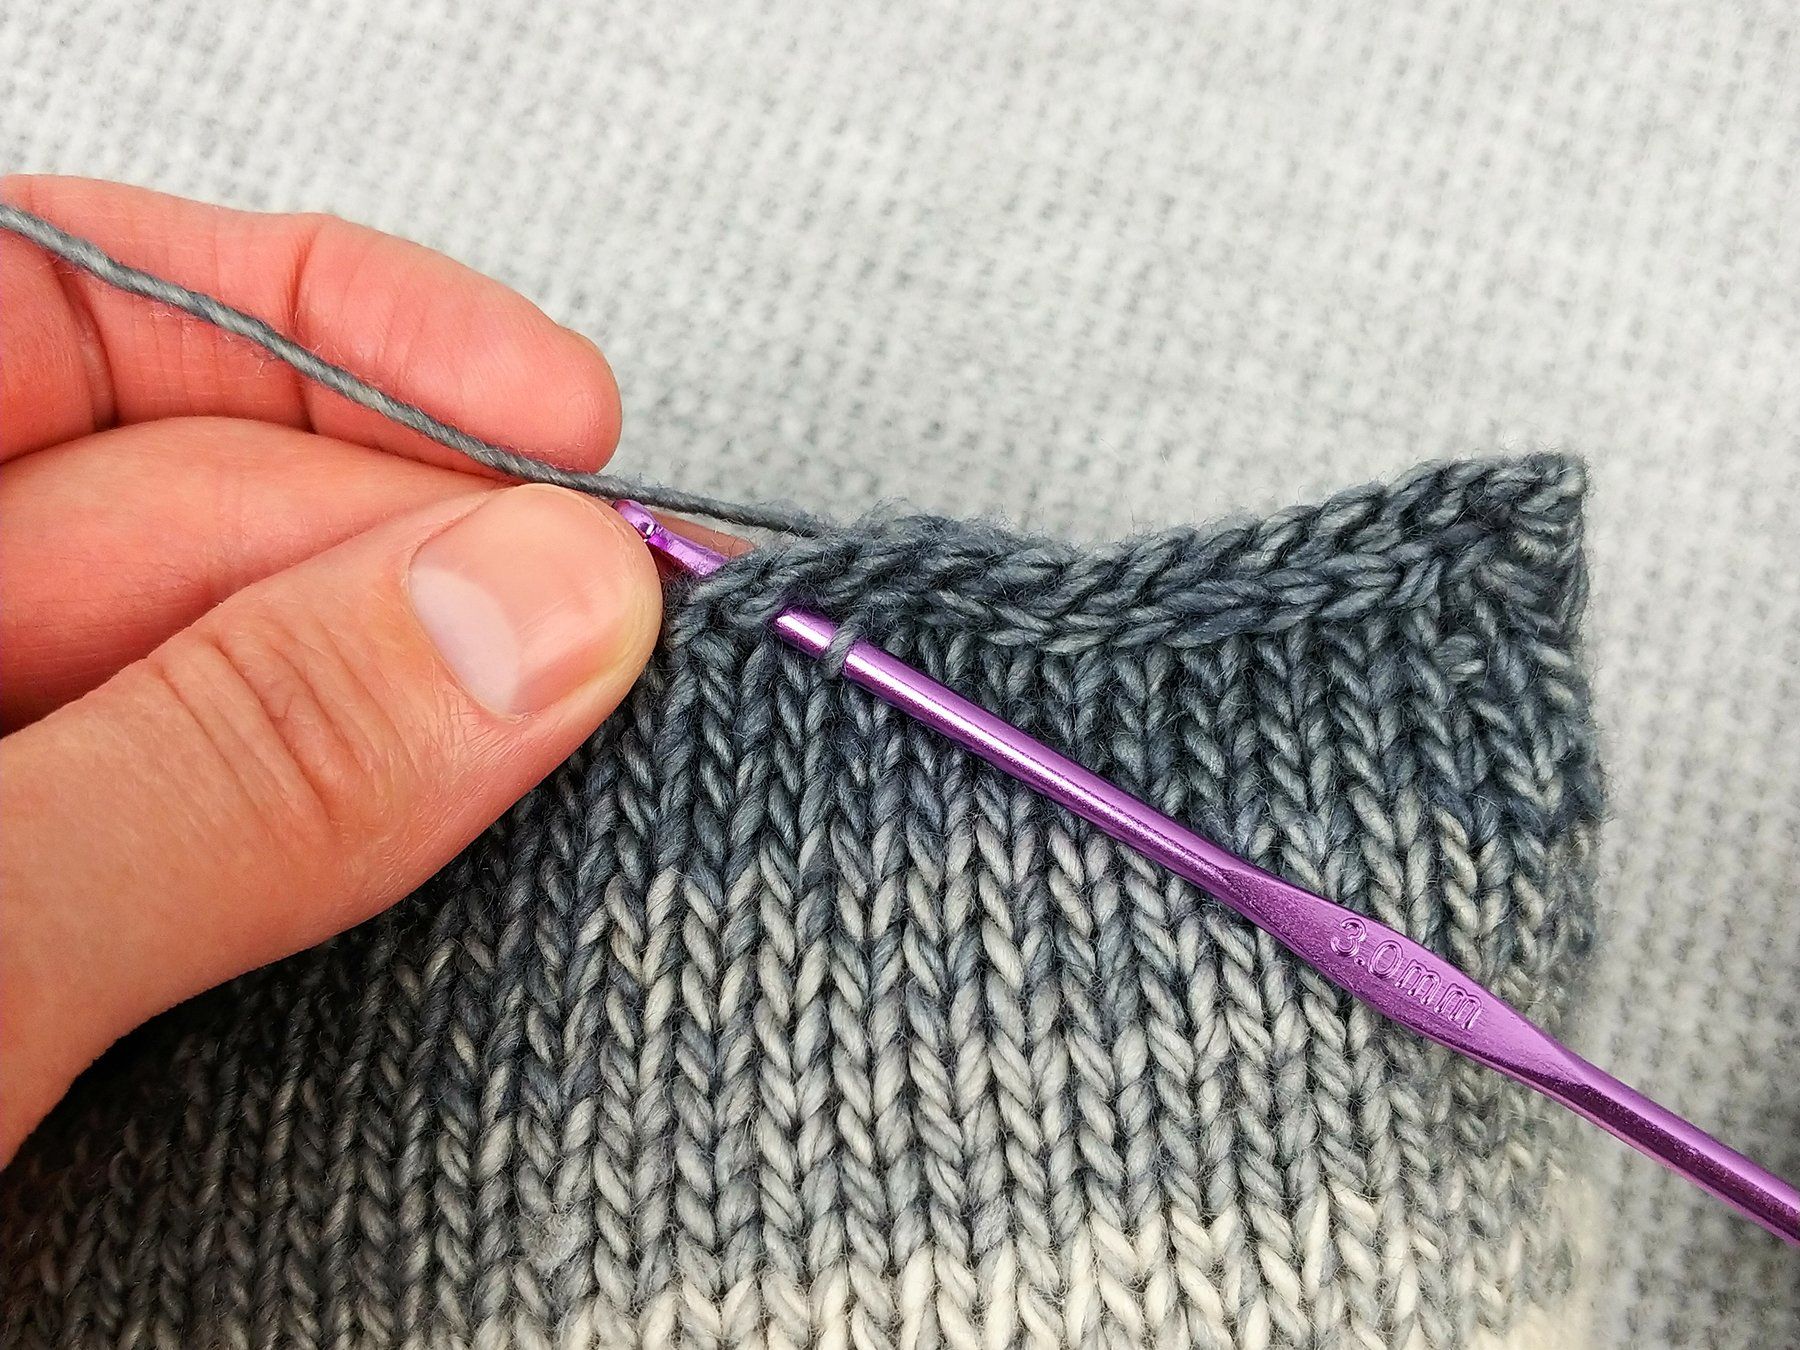
6. Close the YarnSketch Pillow
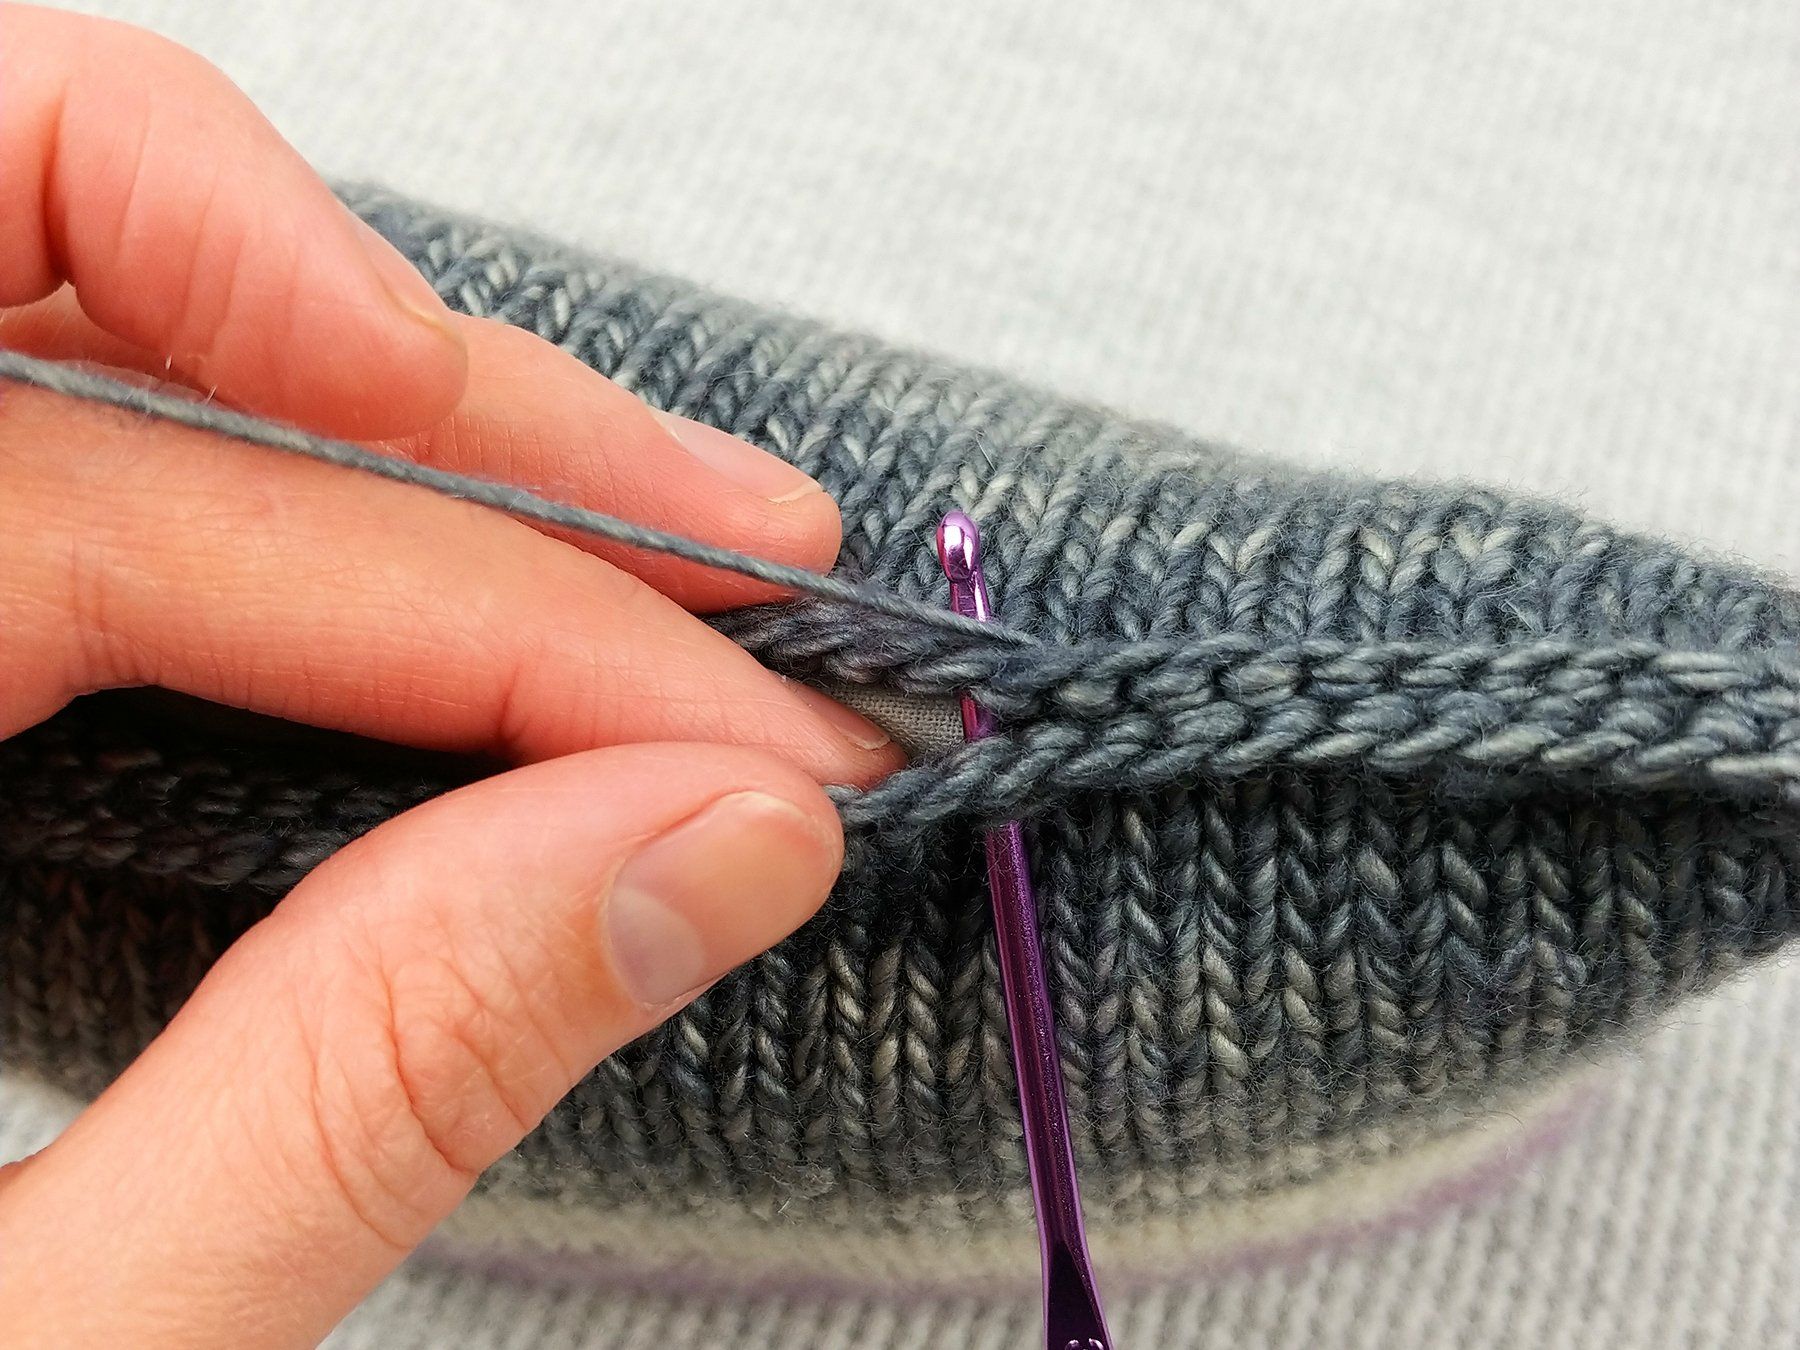
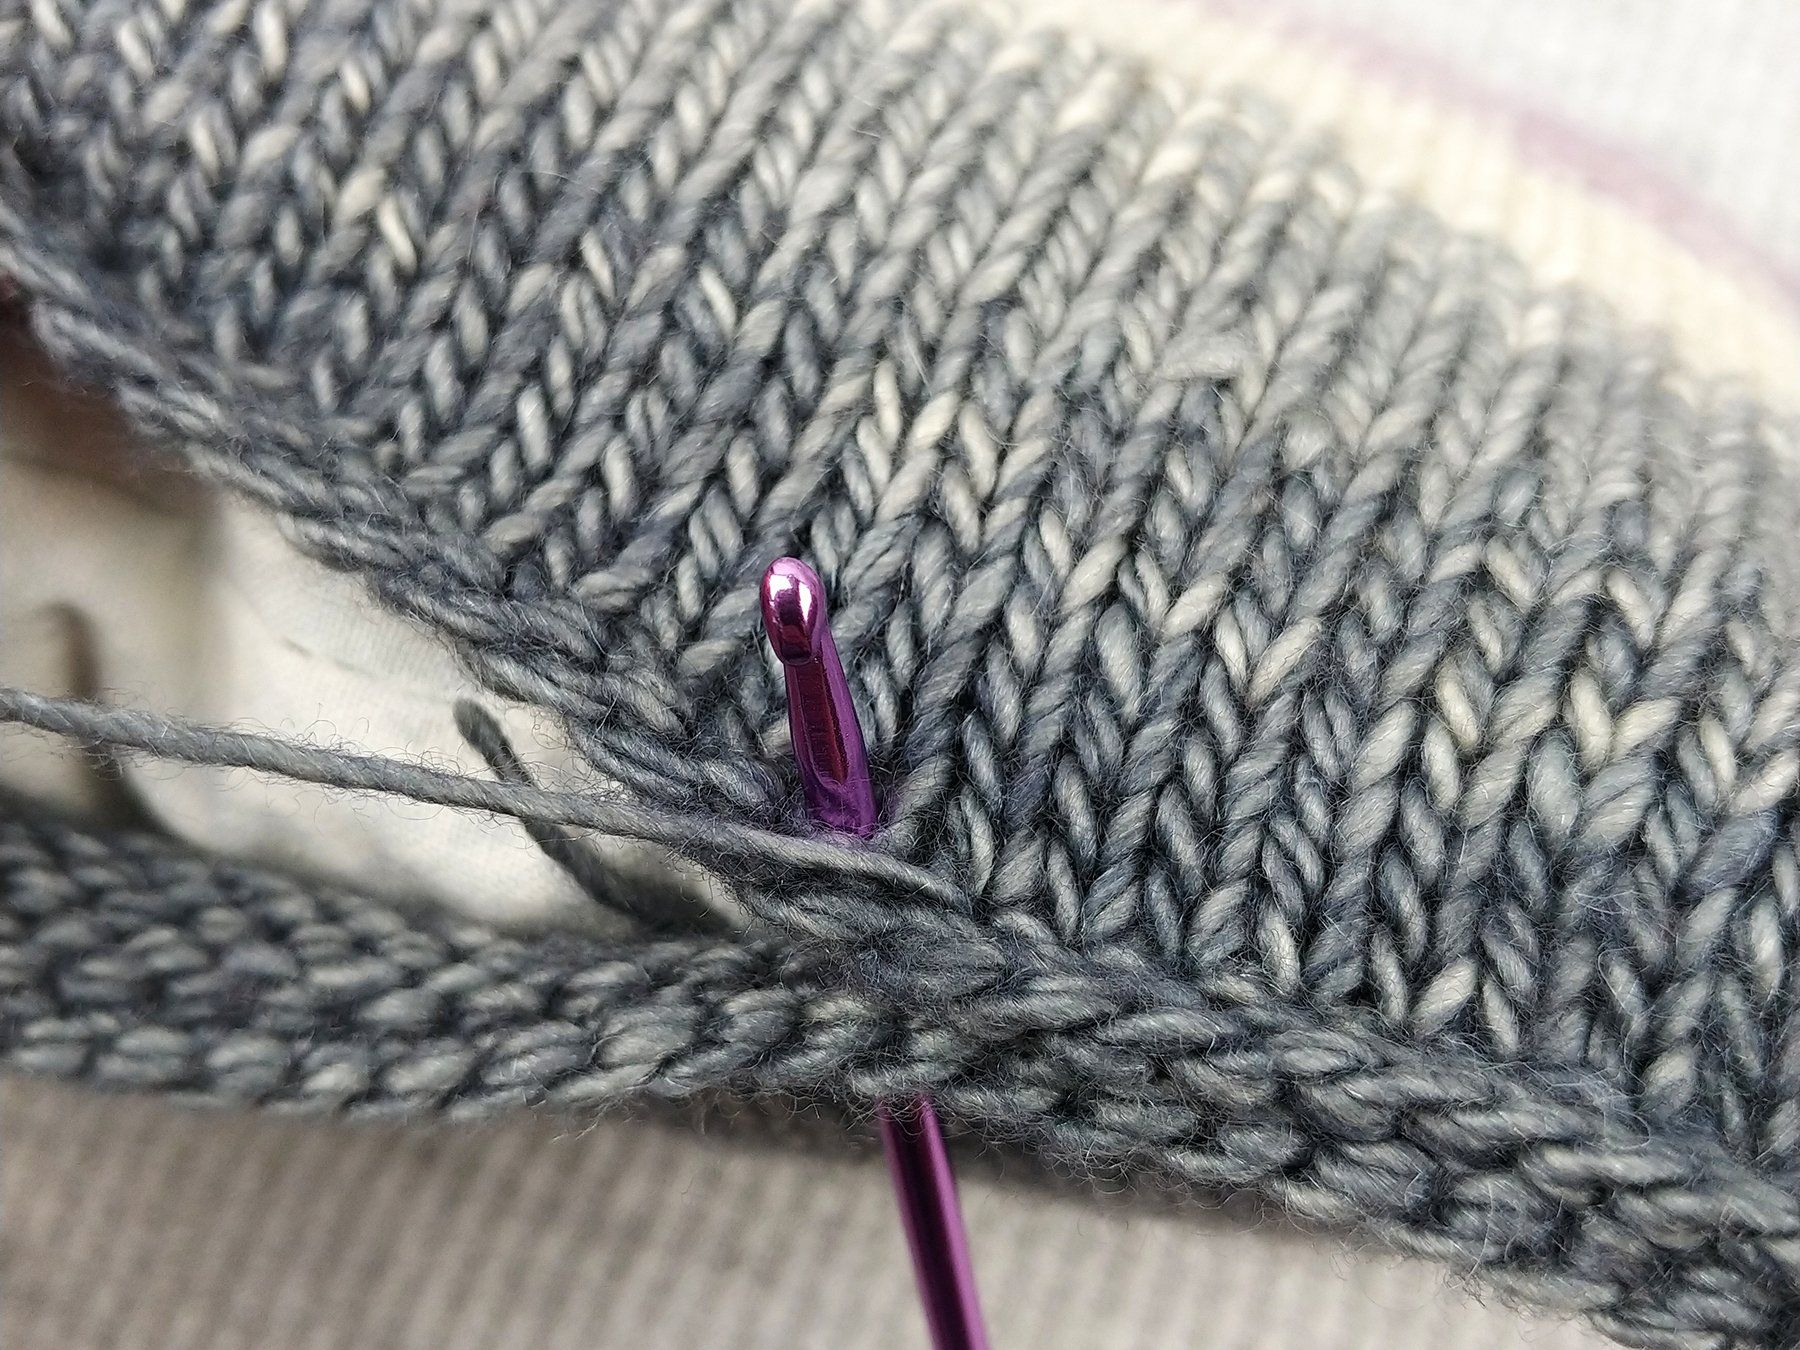
The final step is to stitch shut the open edge of your YarnSketch pillow. There are several different ways to do this, but my favorite is to use a crochet hook to slip stitch the edge. This creates the rather bulky seam at the bottom of my pillow that I want. If you don't want the bulky seam, feel free to use any seaming method you like, such as a whip stitch. Here's a webpage that demonstrates multiple ways to seam knitted pieces together.
If you want to use my method, here's a helpful tutorial on seaming knitted pieces together with crochet slip stitch. And here are a few pictures of my process:
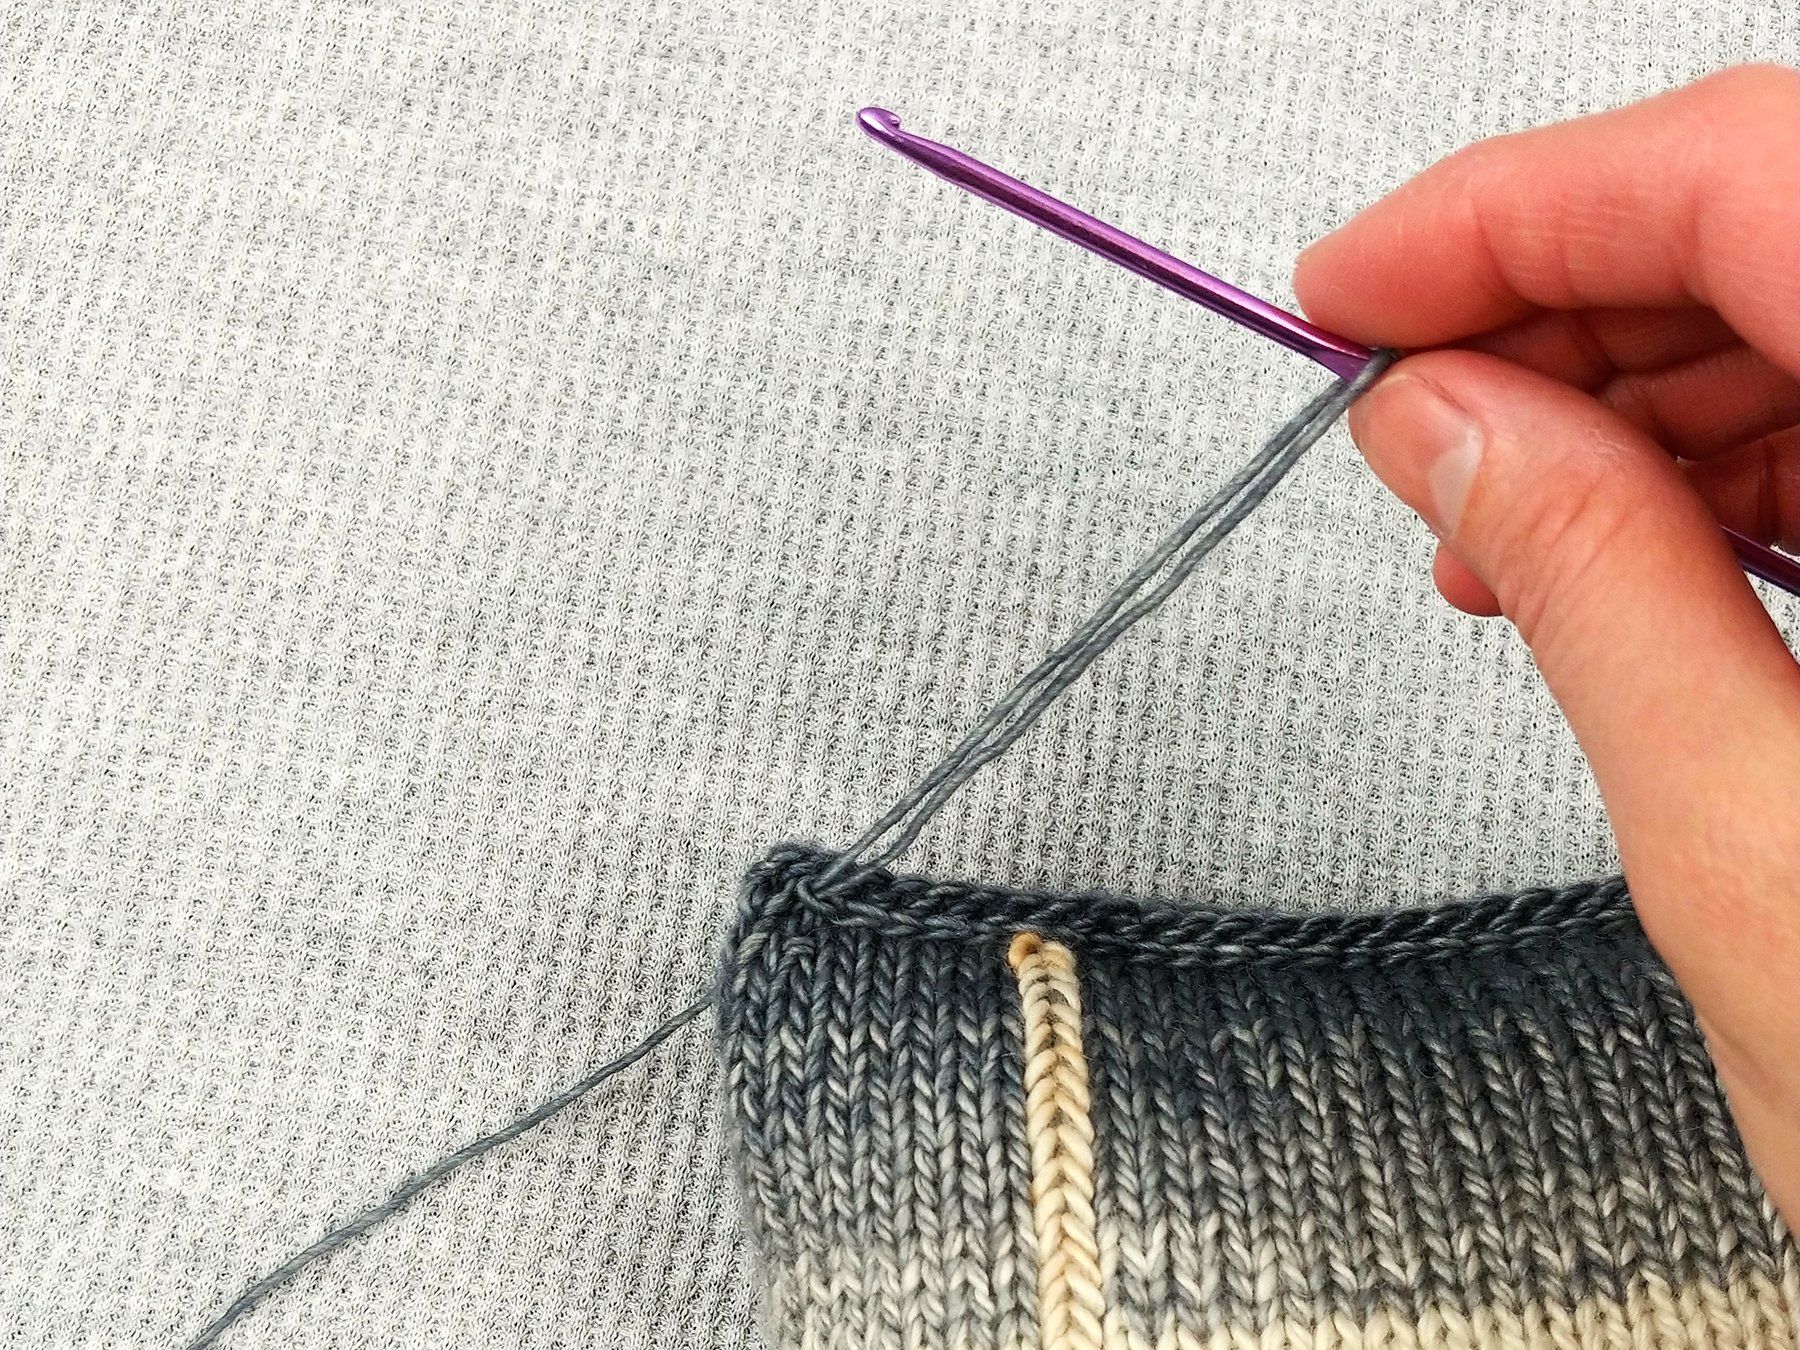
When you get to the very last stitch, cut your yarn and pull the yarn all the way through the loop.
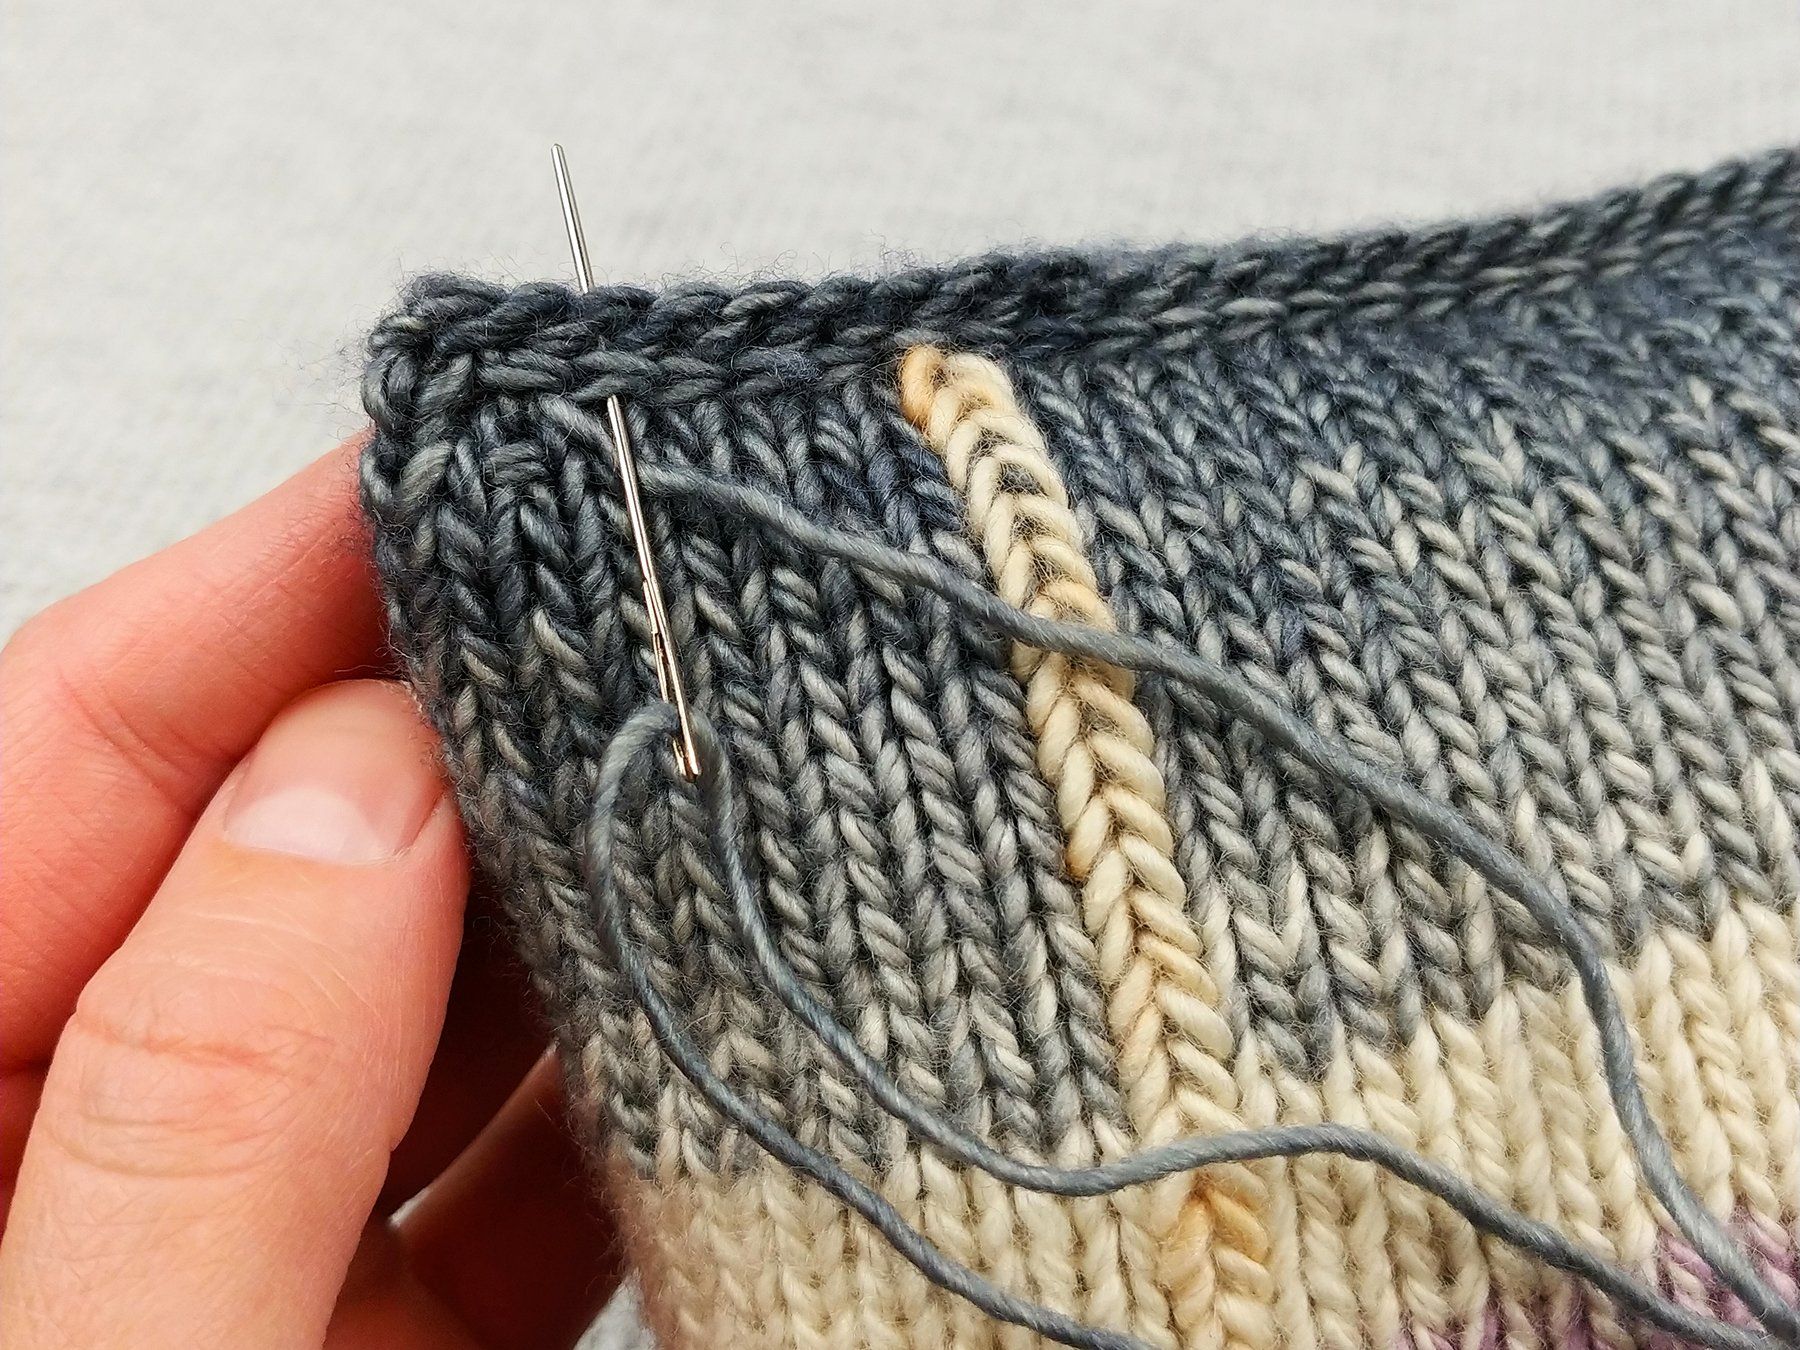
With a tapestry needle, weave in the ends of your seaming yarn.
And you're done! Your YarnSketch pillow is complete and ready to enjoy.
Thanks so much for making a YarnSketch pillow. I've had so much fun playing with colors and texture and yarns, and I hope you enjoy it just as much as I have. I can't wait to see your own yarn sketches!
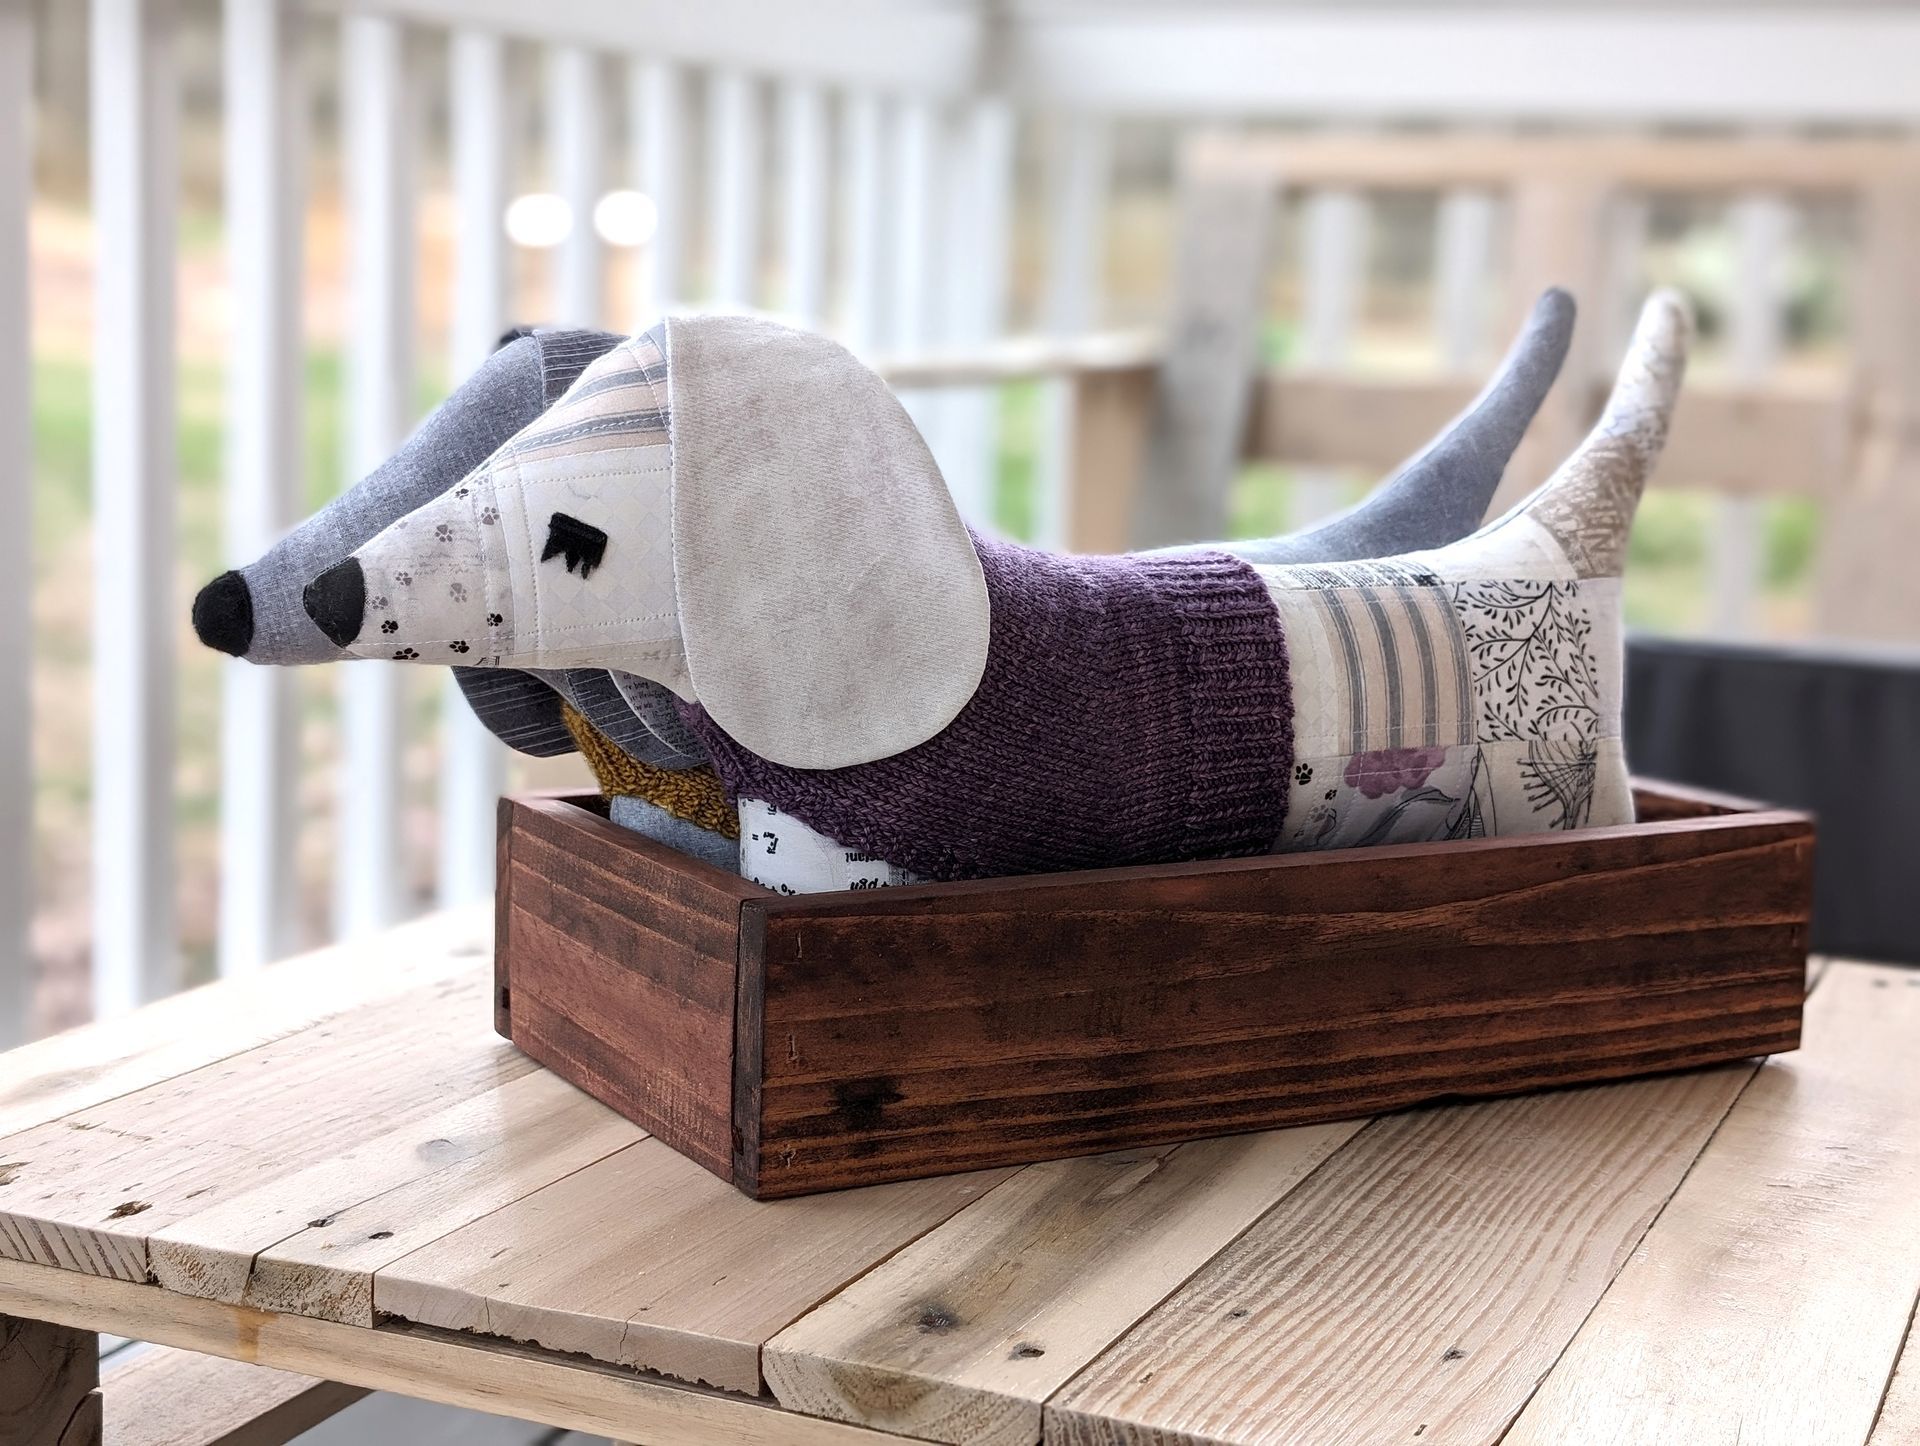
A free pattern for a simple knitted sweater for a handmade dachshund stuffed animal
Calling all testers! This two-color sport-weight sweater is worked seamlessly from the top down.
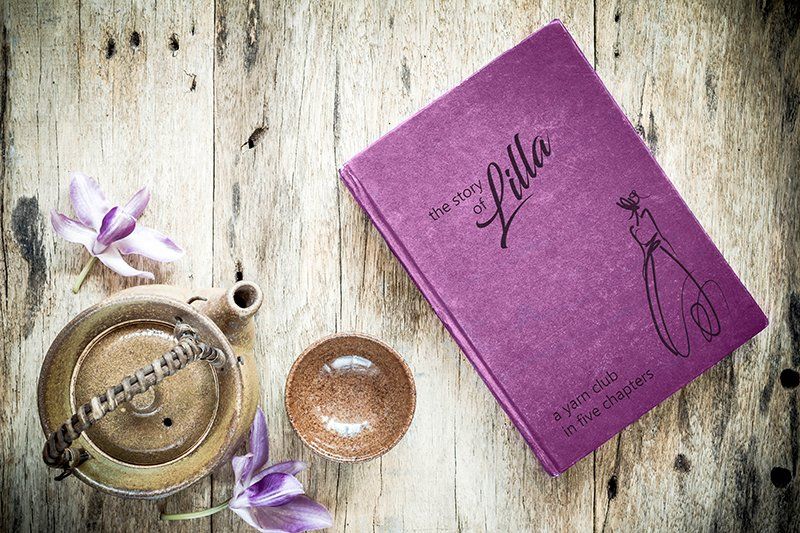
Chapter two of Lilla's story finds her entering womanhood and beginning to experience what she's waited for all her life.
Chapter two of Lilla's story finds her entering womanhood and beginning to experience what she's waited for all her life.
Chapter two of Lilla's story finds her entering womanhood and beginning to experience what she's waited for all her life.
This special yarn club has been on my heart for so long, and the story itself for years before that. Today it is finally a reality: chapter 1 is now available.